
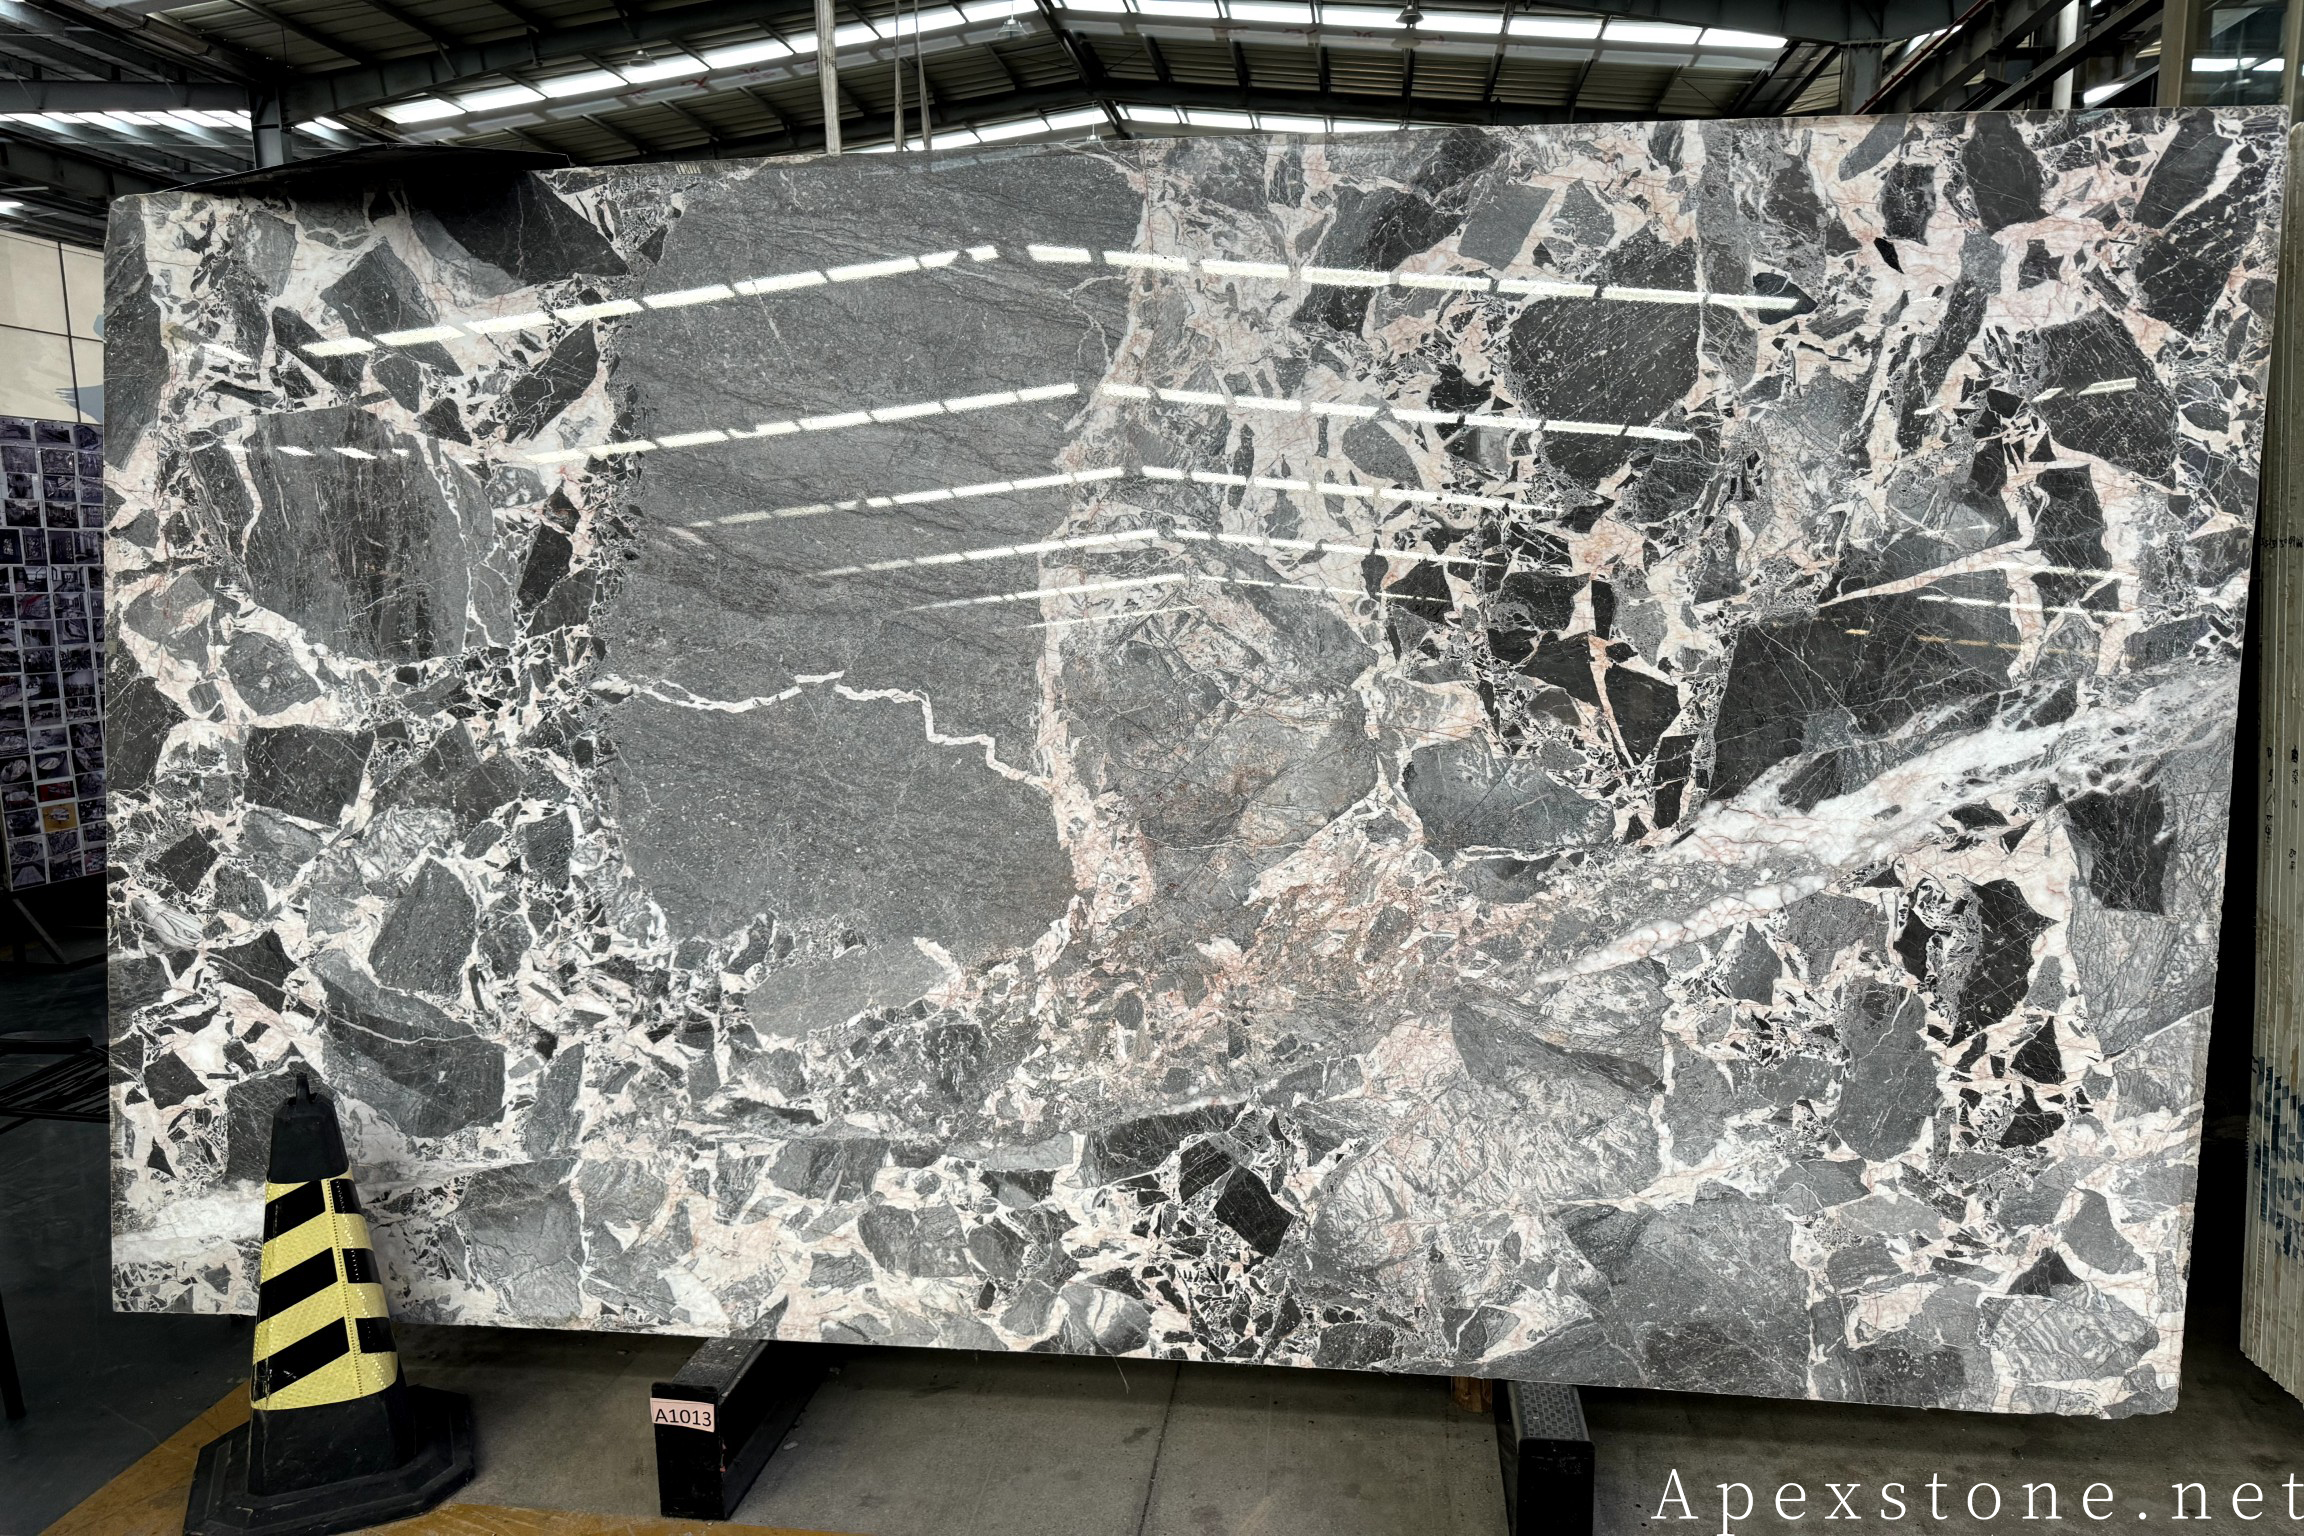
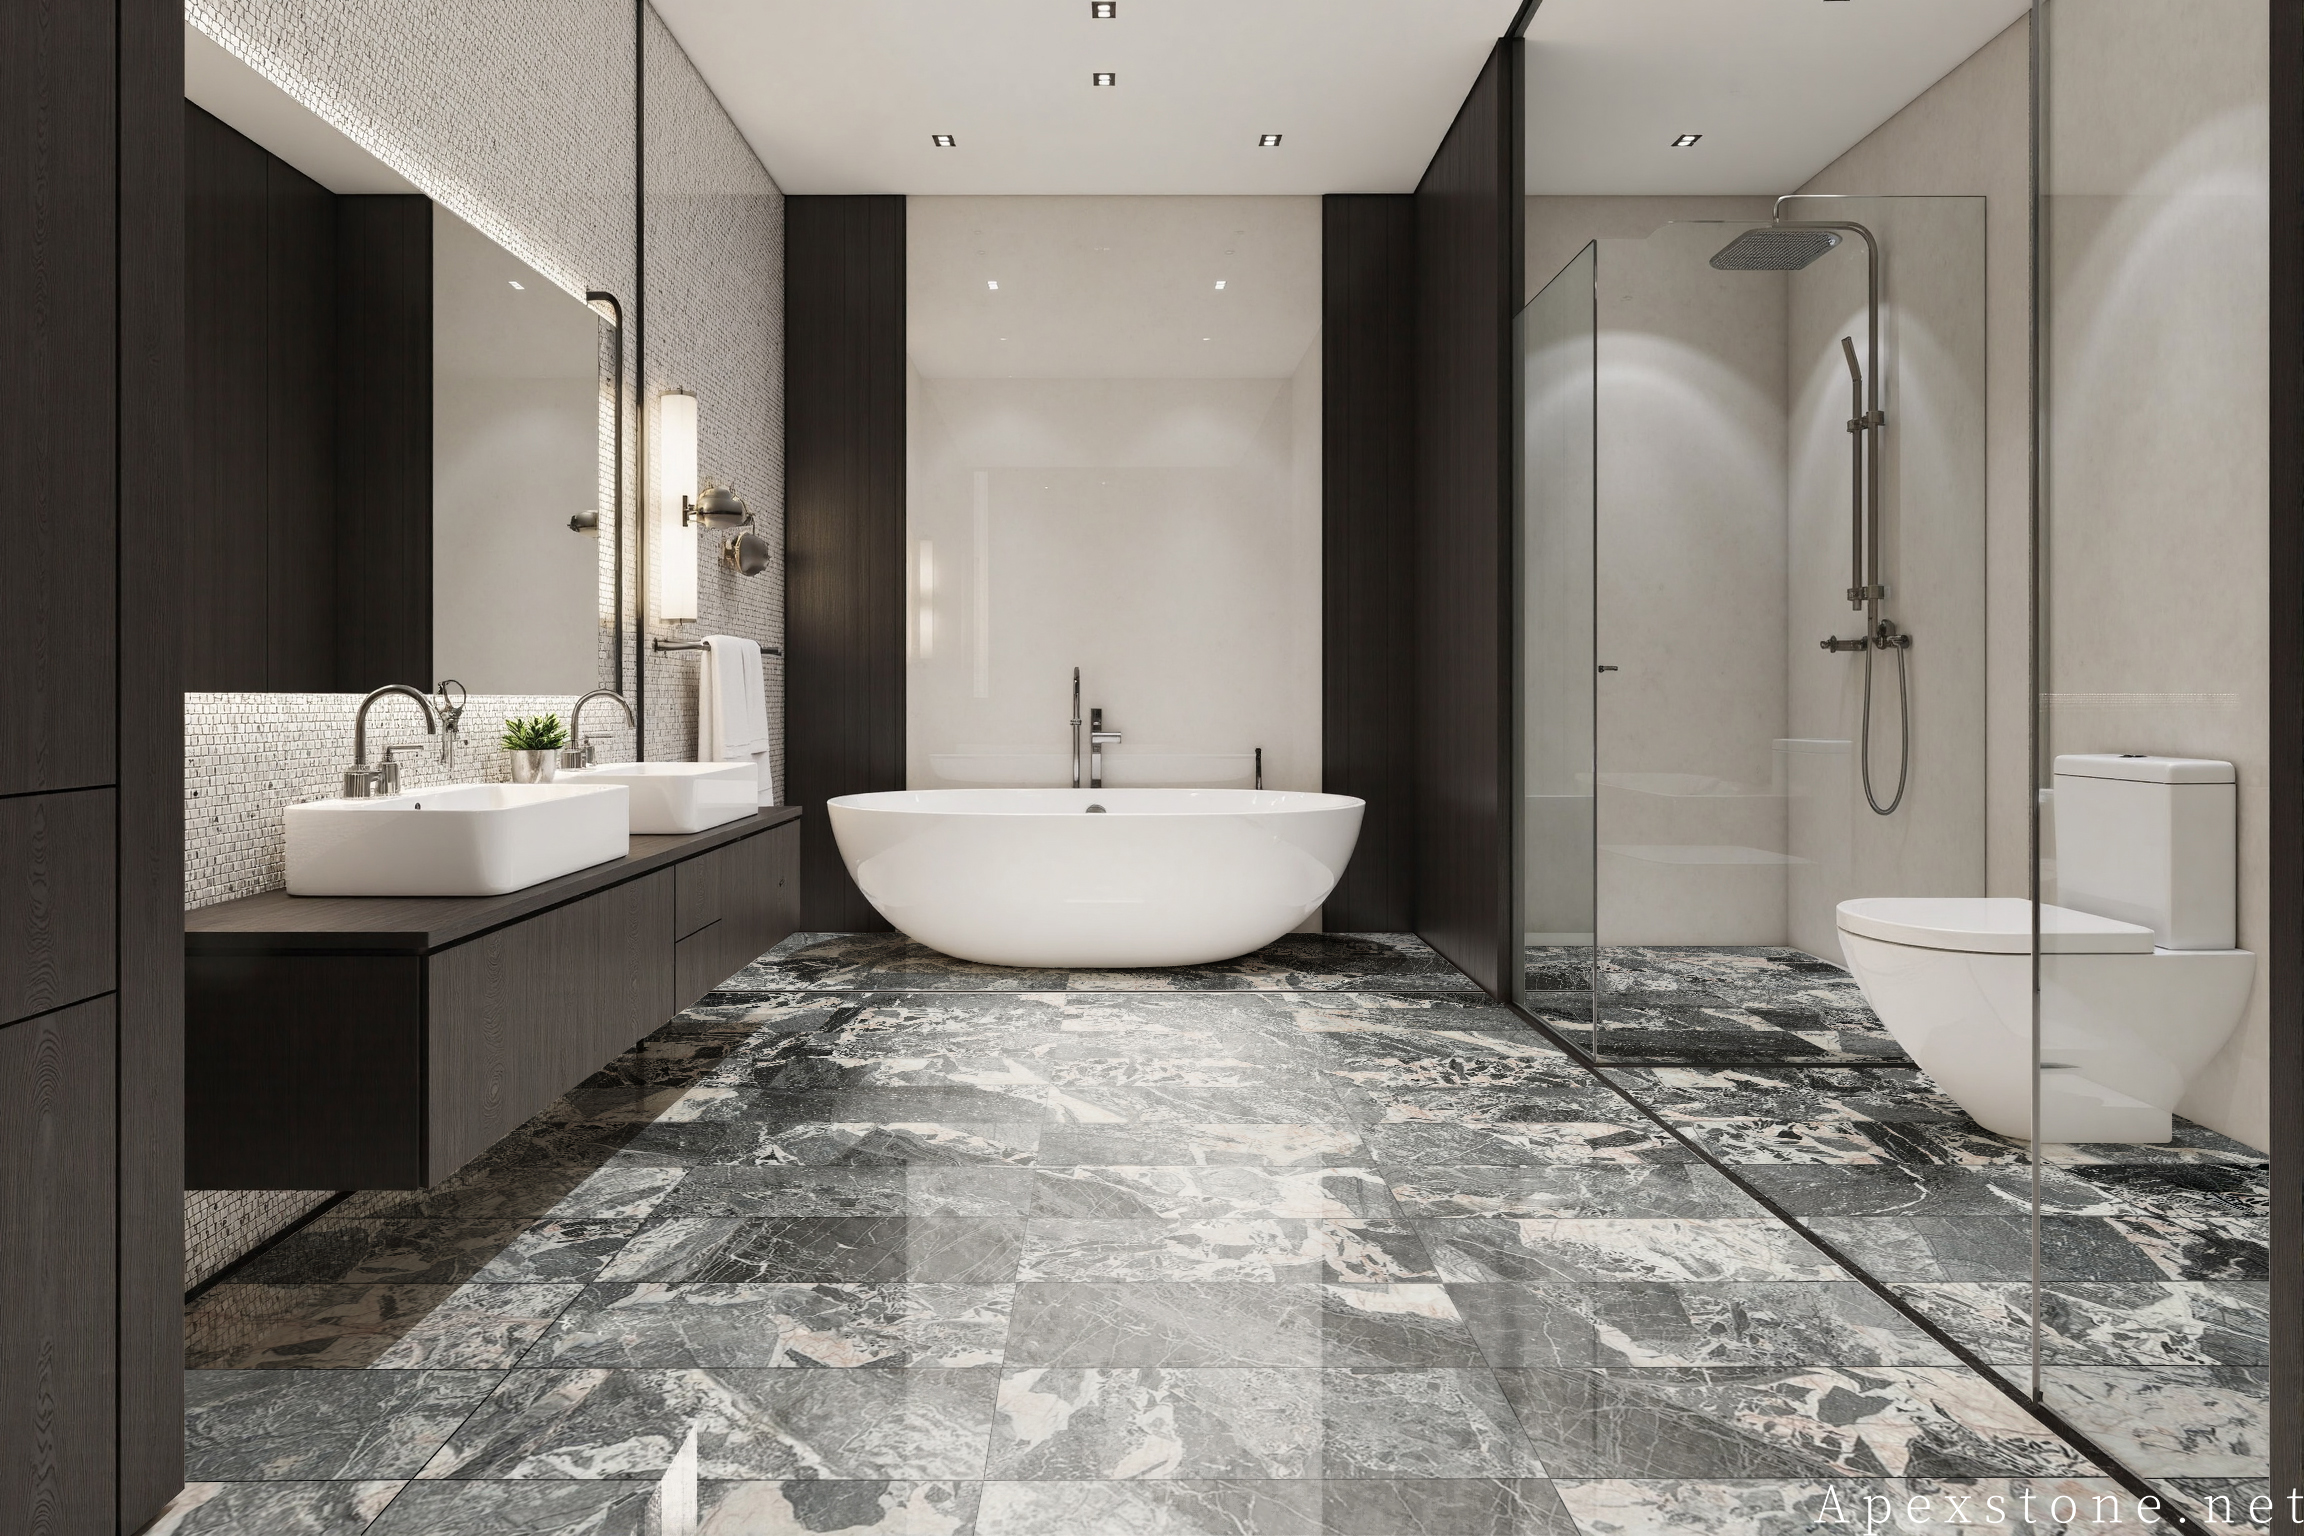
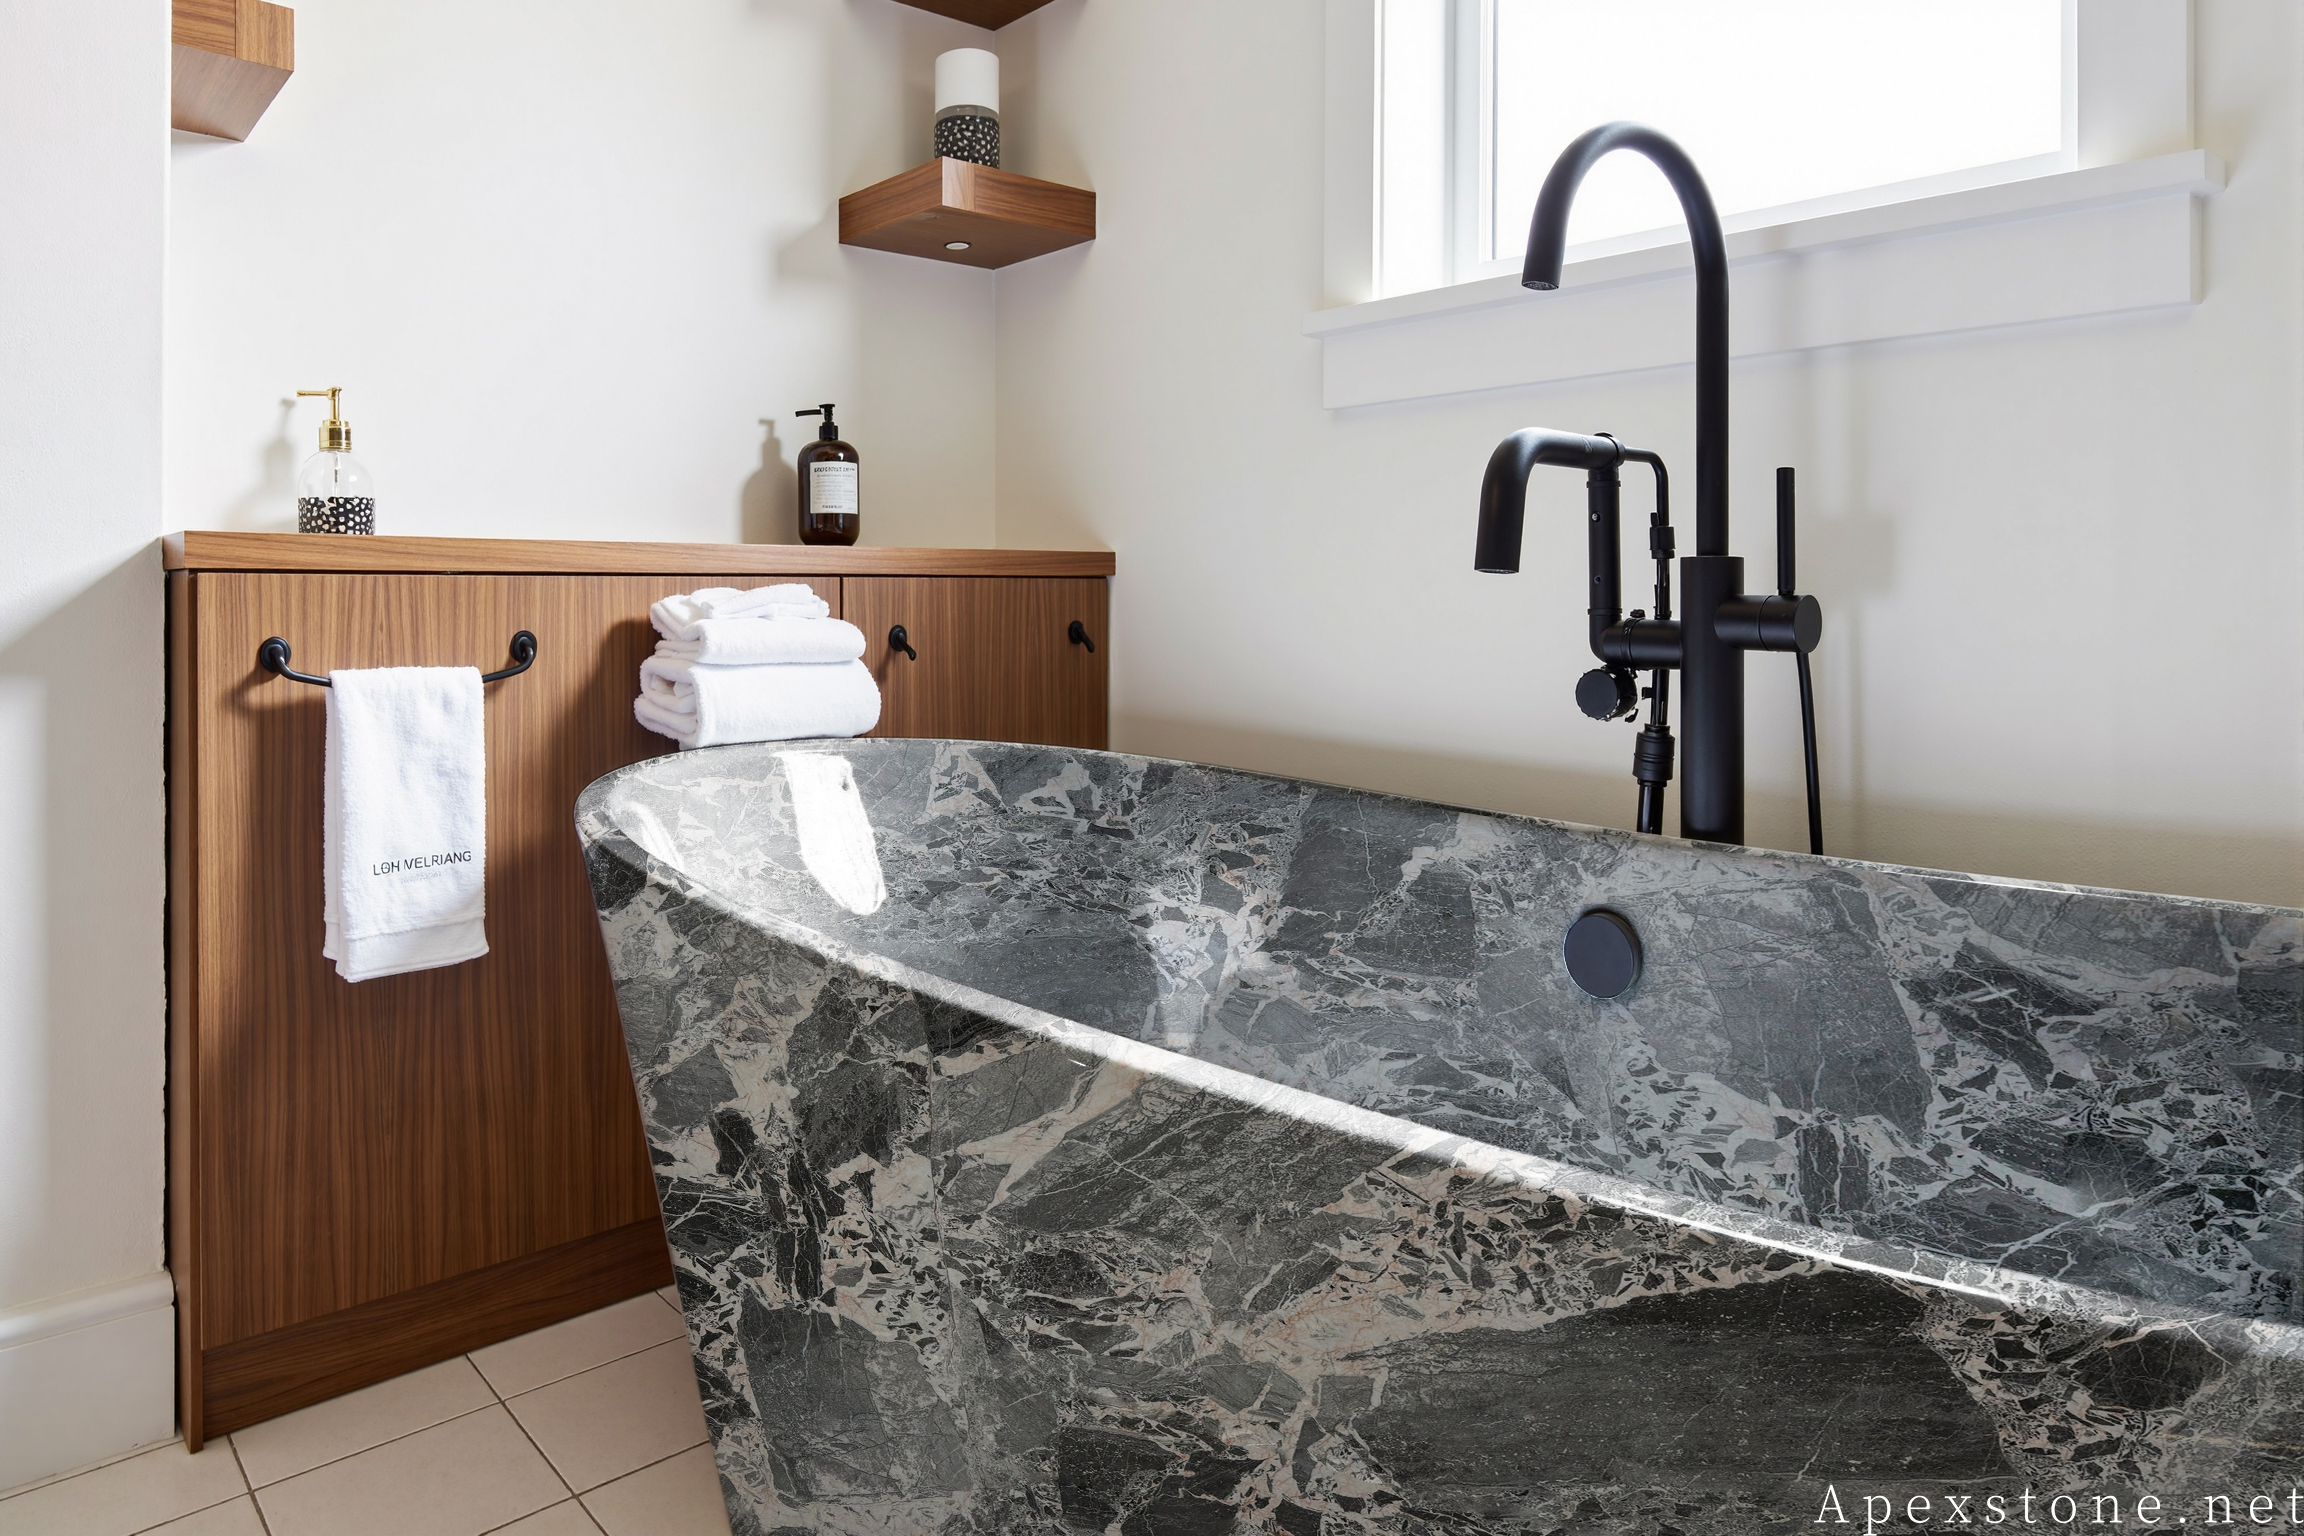
一份全面的香奈儿灰大理石浴室应用安装指南,涵盖墙面瓷砖、地面瓷砖、台面、淋浴面板、淋浴地面和实心石材浴缸,并附有经过验证的工厂实拍图片。
Introduction: Chanel Grey Marble in Bathroom Applications
Chanel Grey marble is a natural stone with a soft grey base and delicate veining, suited to bathroom walls, floors, vanity countertops, shower panels and solid stone bathtubs. This guide covers installation precautions for each application type.
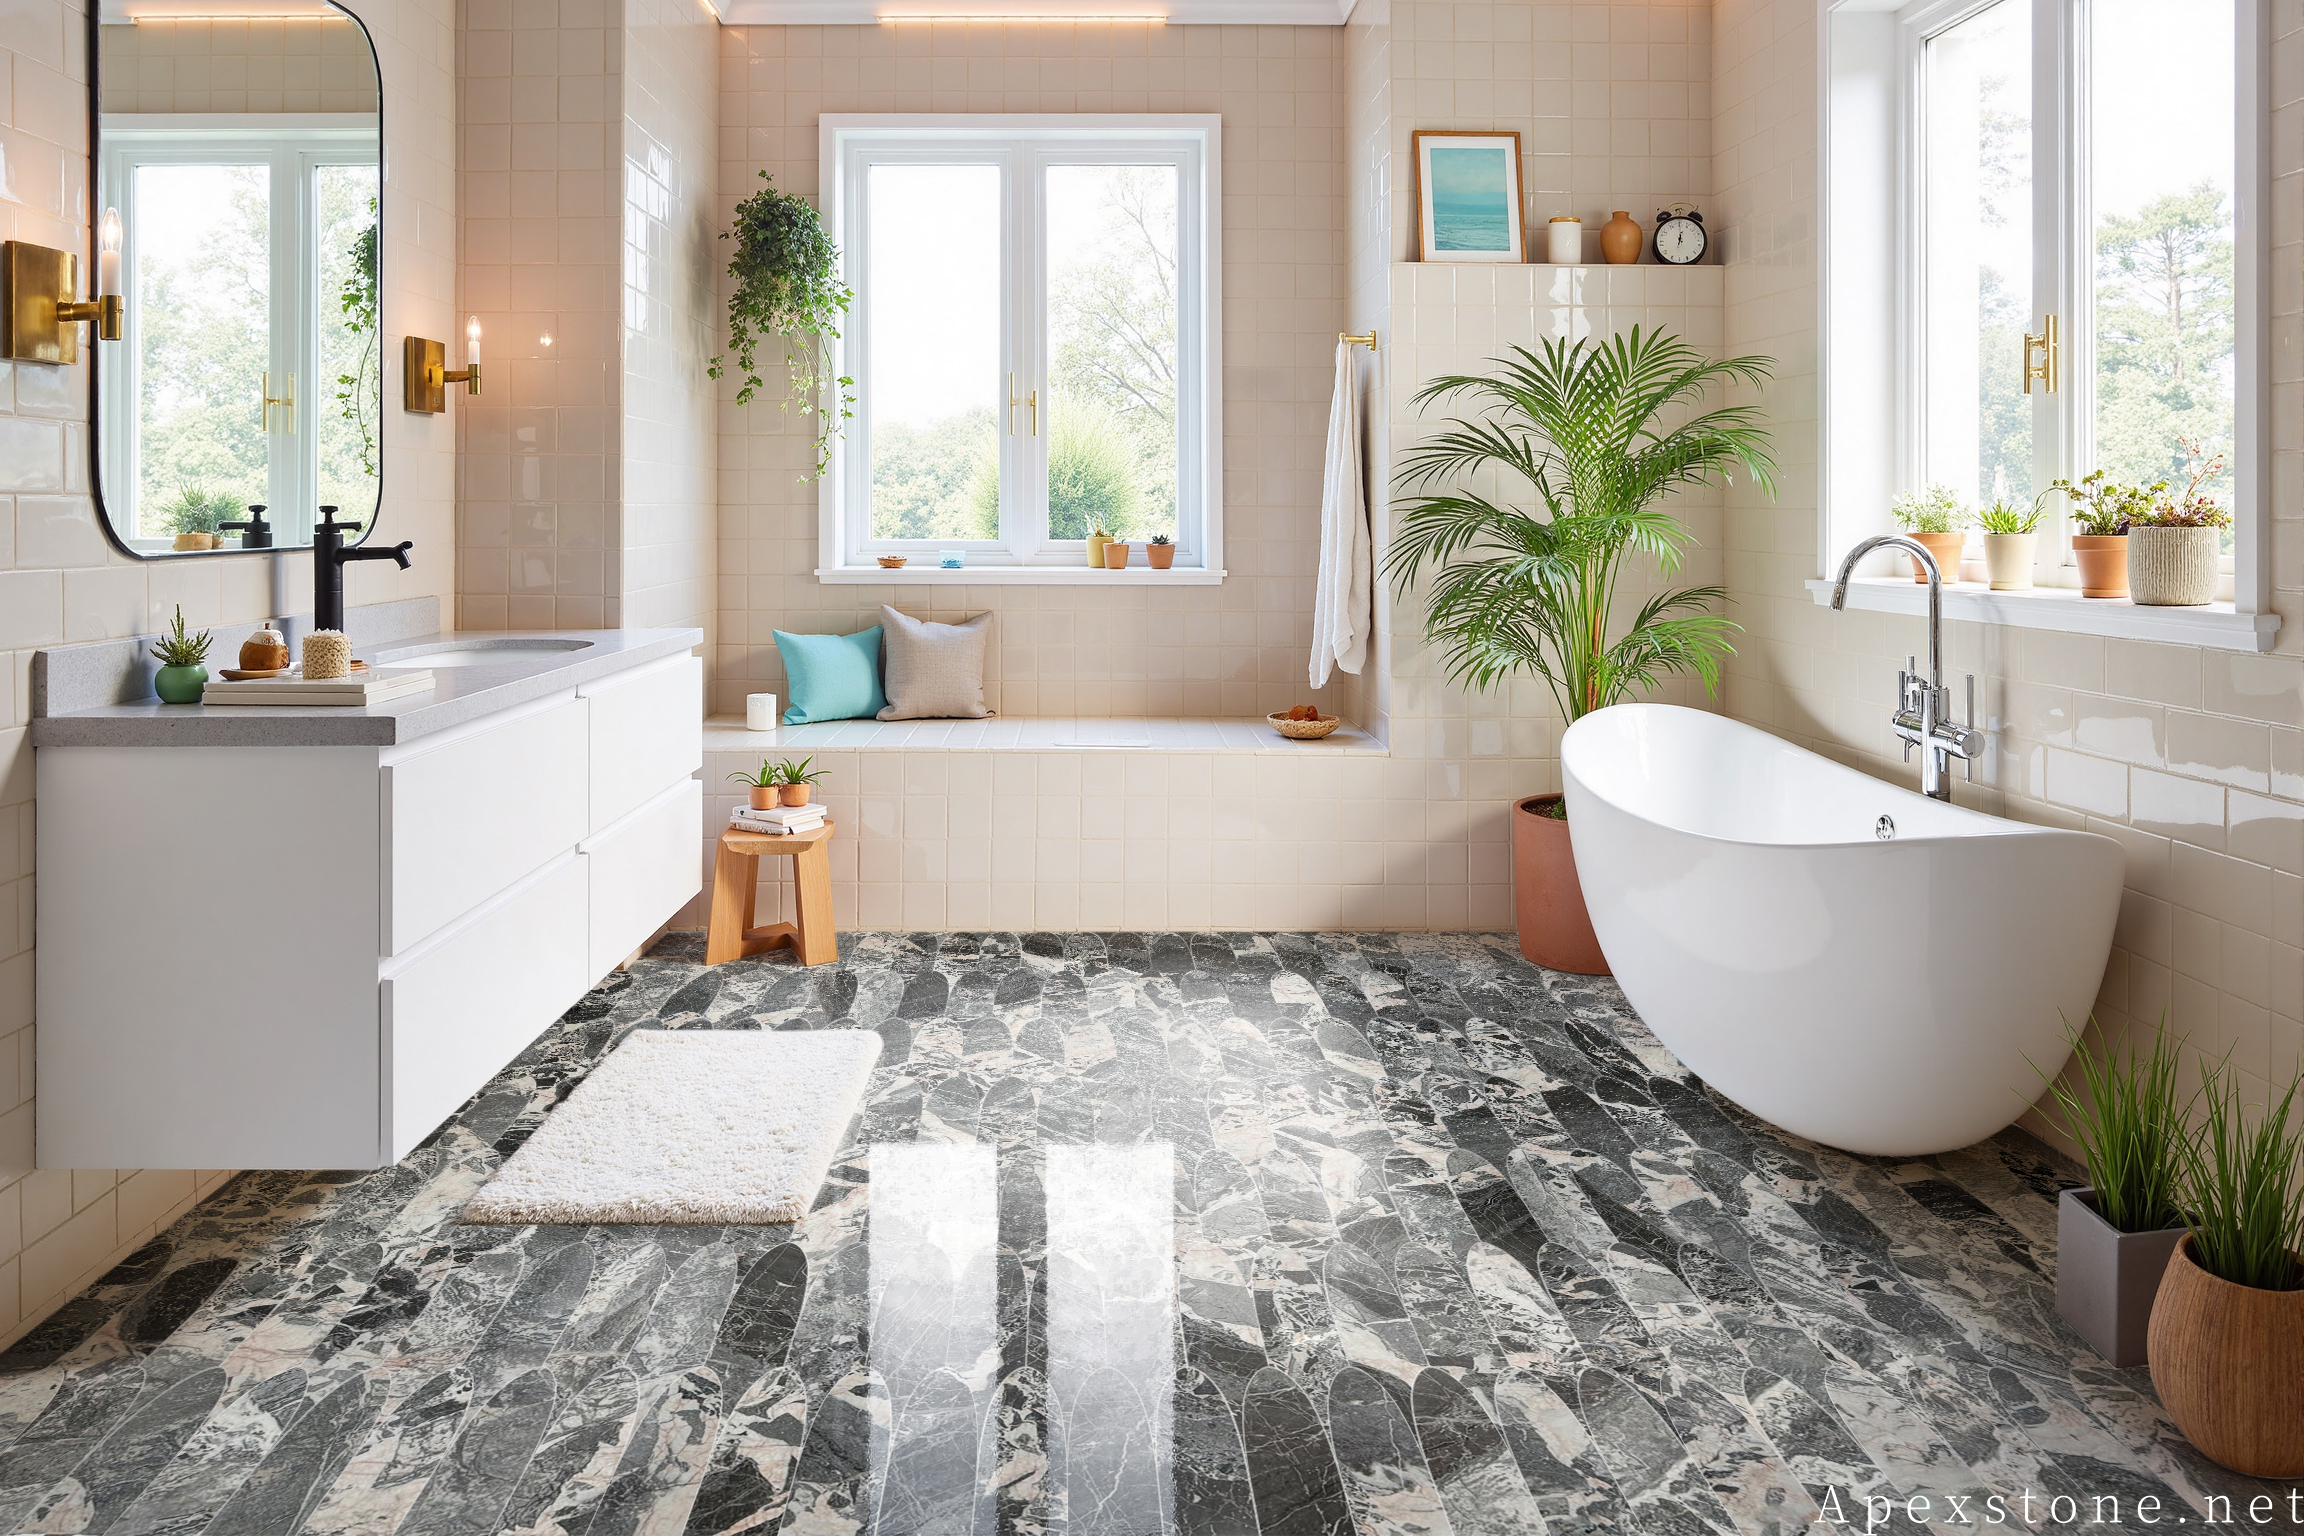
1. Bathroom Wall Tiles (600x600mm / 24"x24", 600x300mm / 24"x12")24"x12")12")
Substrate preparation: Walls must be plumb, flat and fully cured. Apply a waterproof membrane to all shower-zone walls before tiling. For natural marble, use a white cement-based thinset or epoxy adhesive to prevent grey bleed-through.
Tile size and thickness: Common wall tile sizes include 600x600mm (24"x24") and 600x300mm (24"x12") at 10mm (3/8") or 12mm (1/2") thickness. Specify honed or polished finish based on the desired aesthetic.n the desired aesthetic.
Installation precautions:
- Layout planning: Dry-lay tiles before fixing to plan veining direction and minimize visible cuts at corners.
- Joint width: Use 1.5-2mm grout joints for polished marble, 2-3mm for honed. Use epoxy grout in wet zones to resist staining.
- Sealing: Seal marble wall tiles with a penetrating impregnating sealer before and after grouting. Re-seal shower-zone walls every 12 months.
- Vein matching: Number tiles during dry-lay so the installer can maintain vein continuity across adjacent tiles.
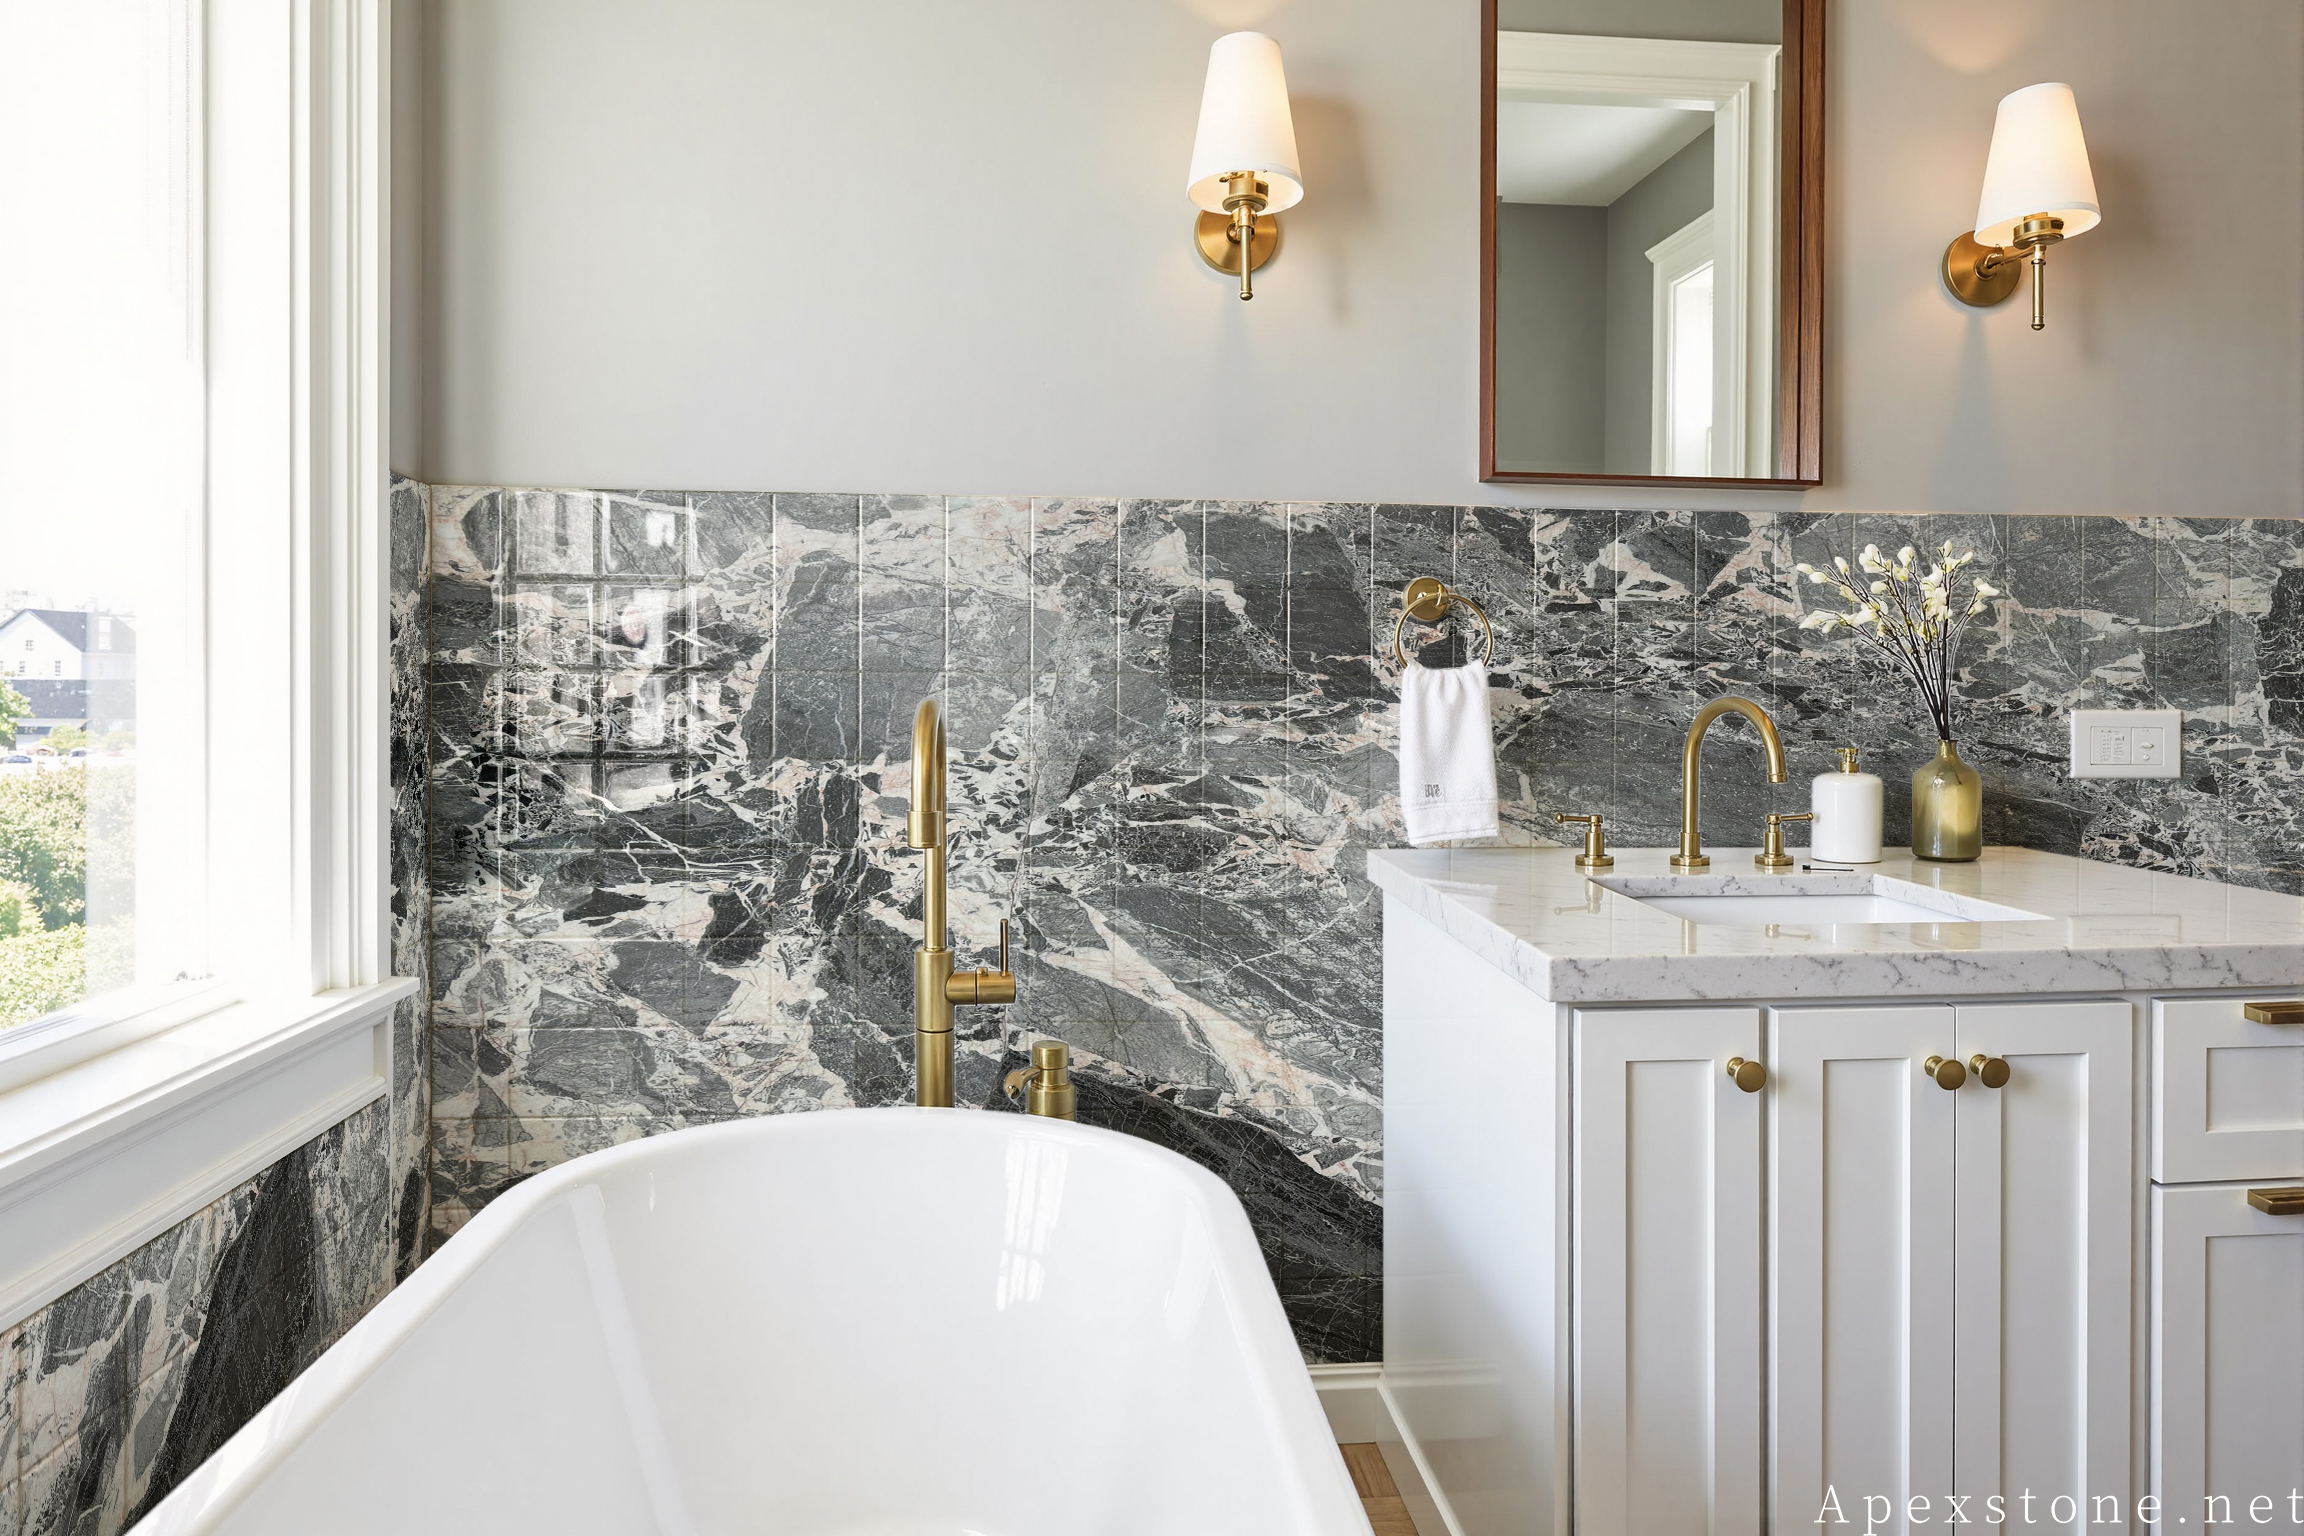
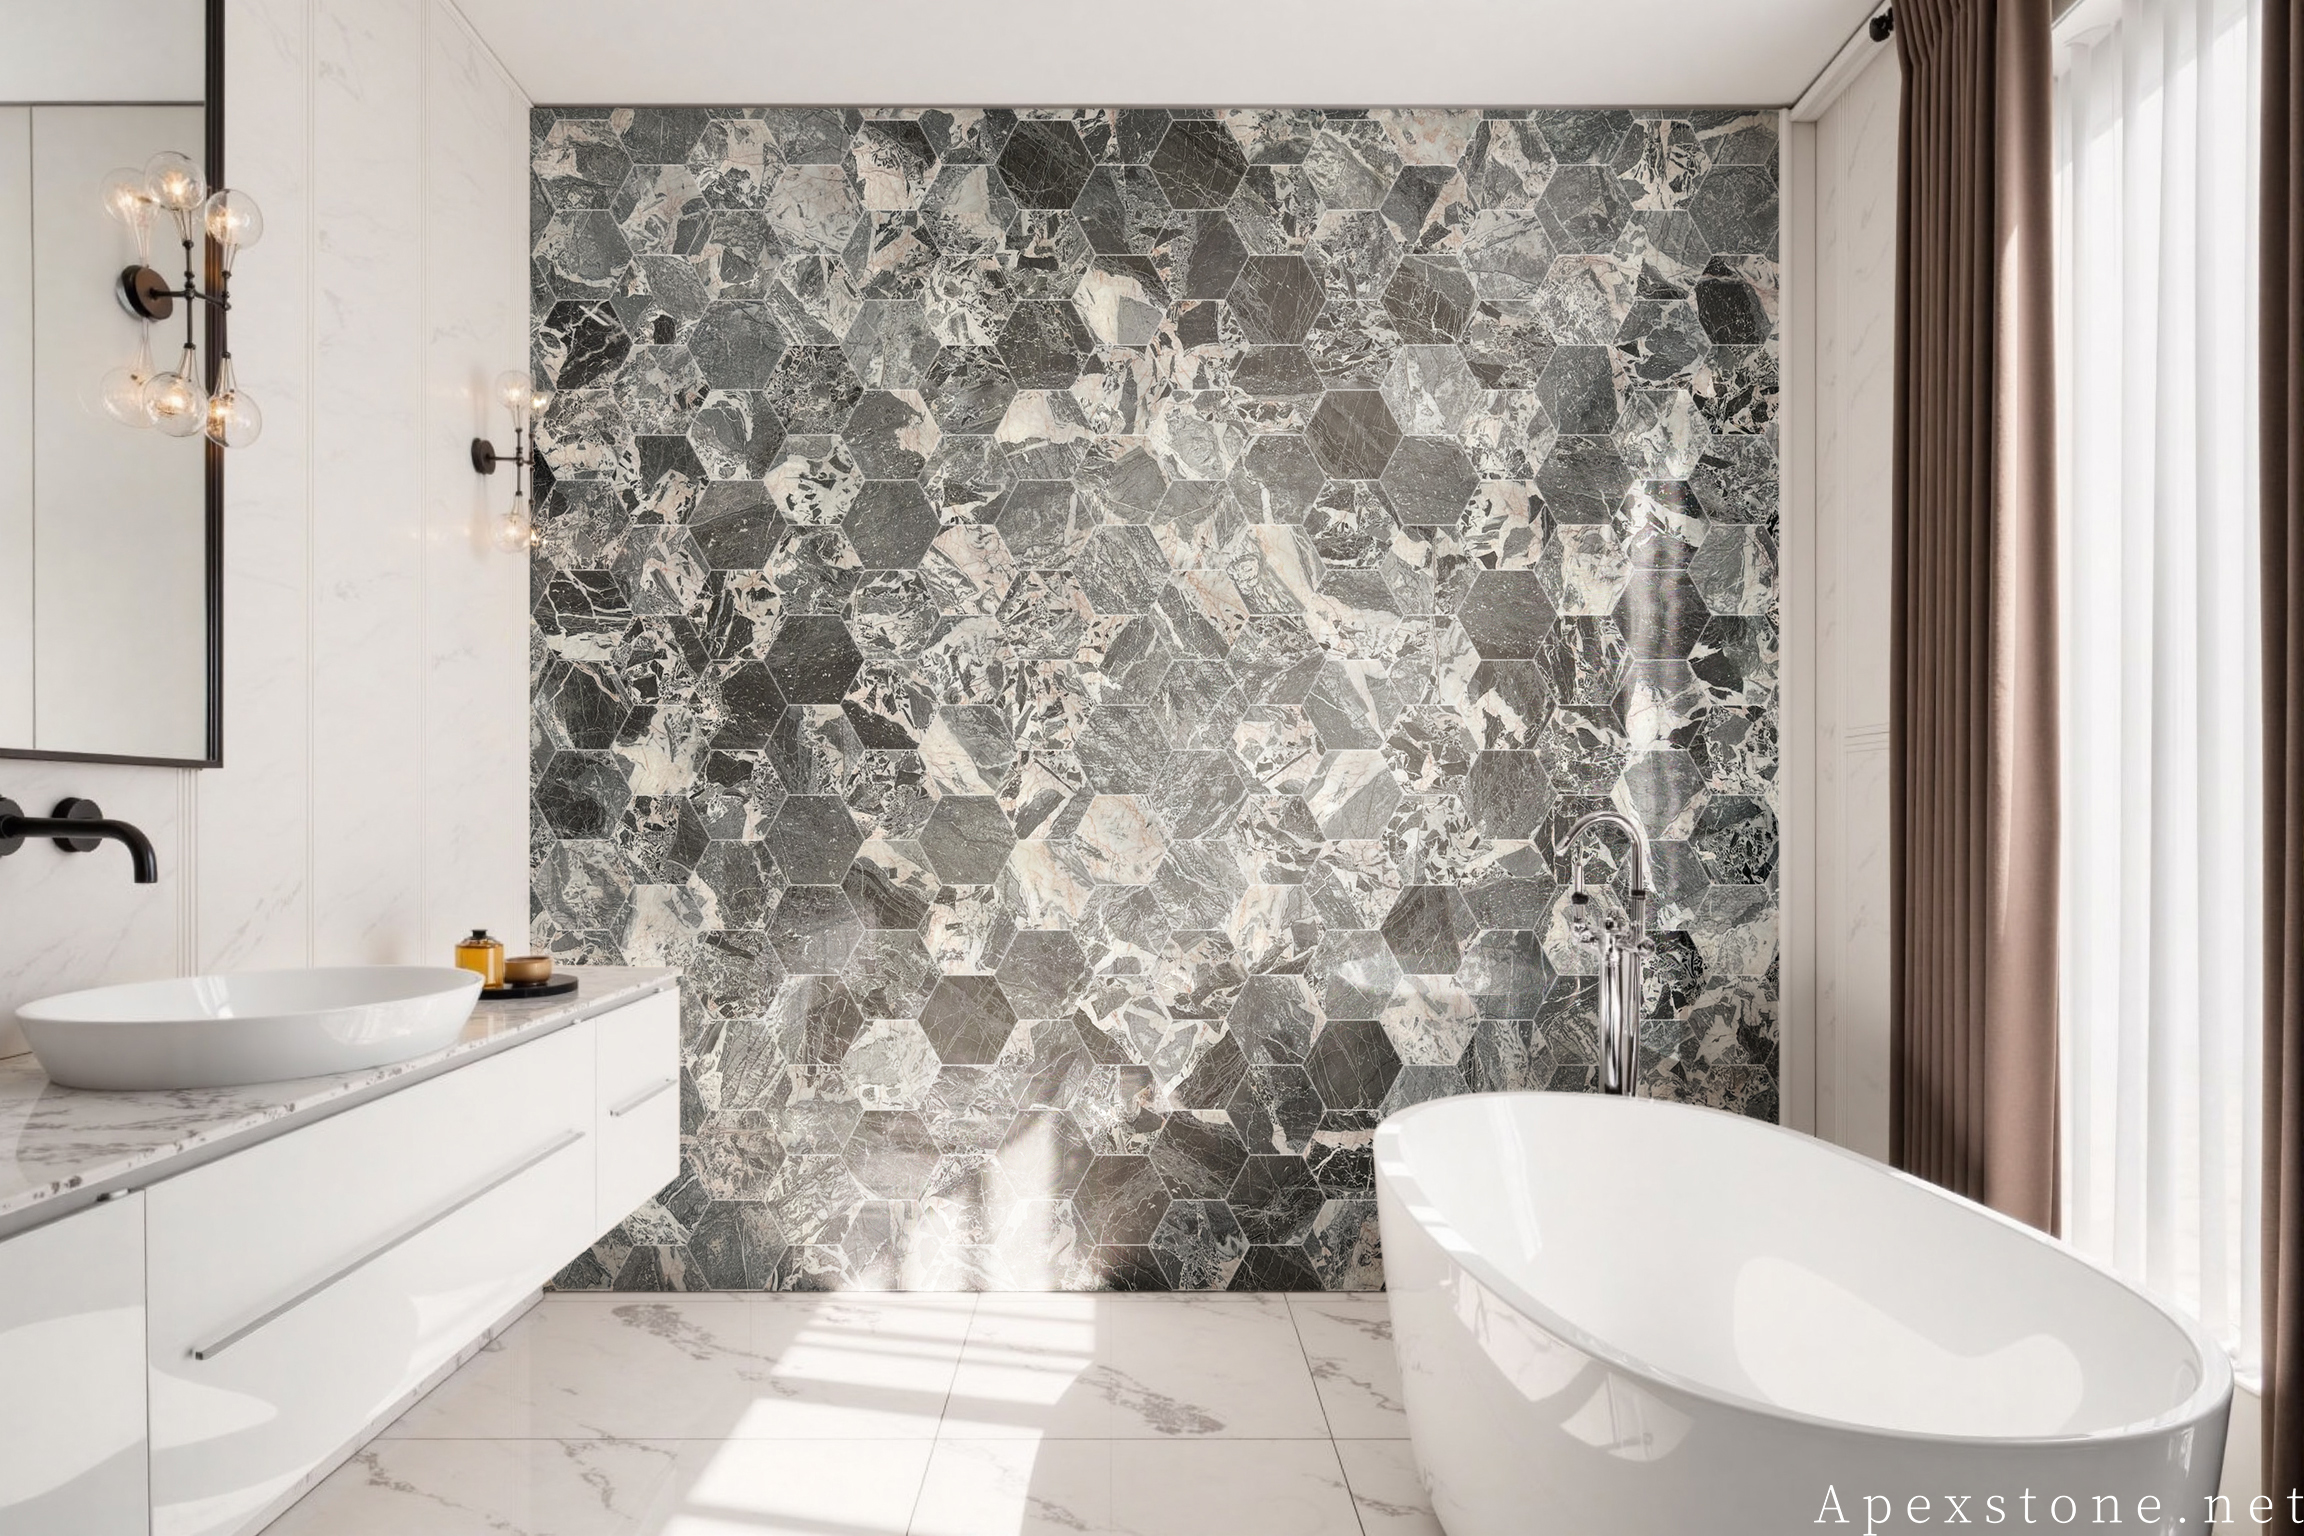
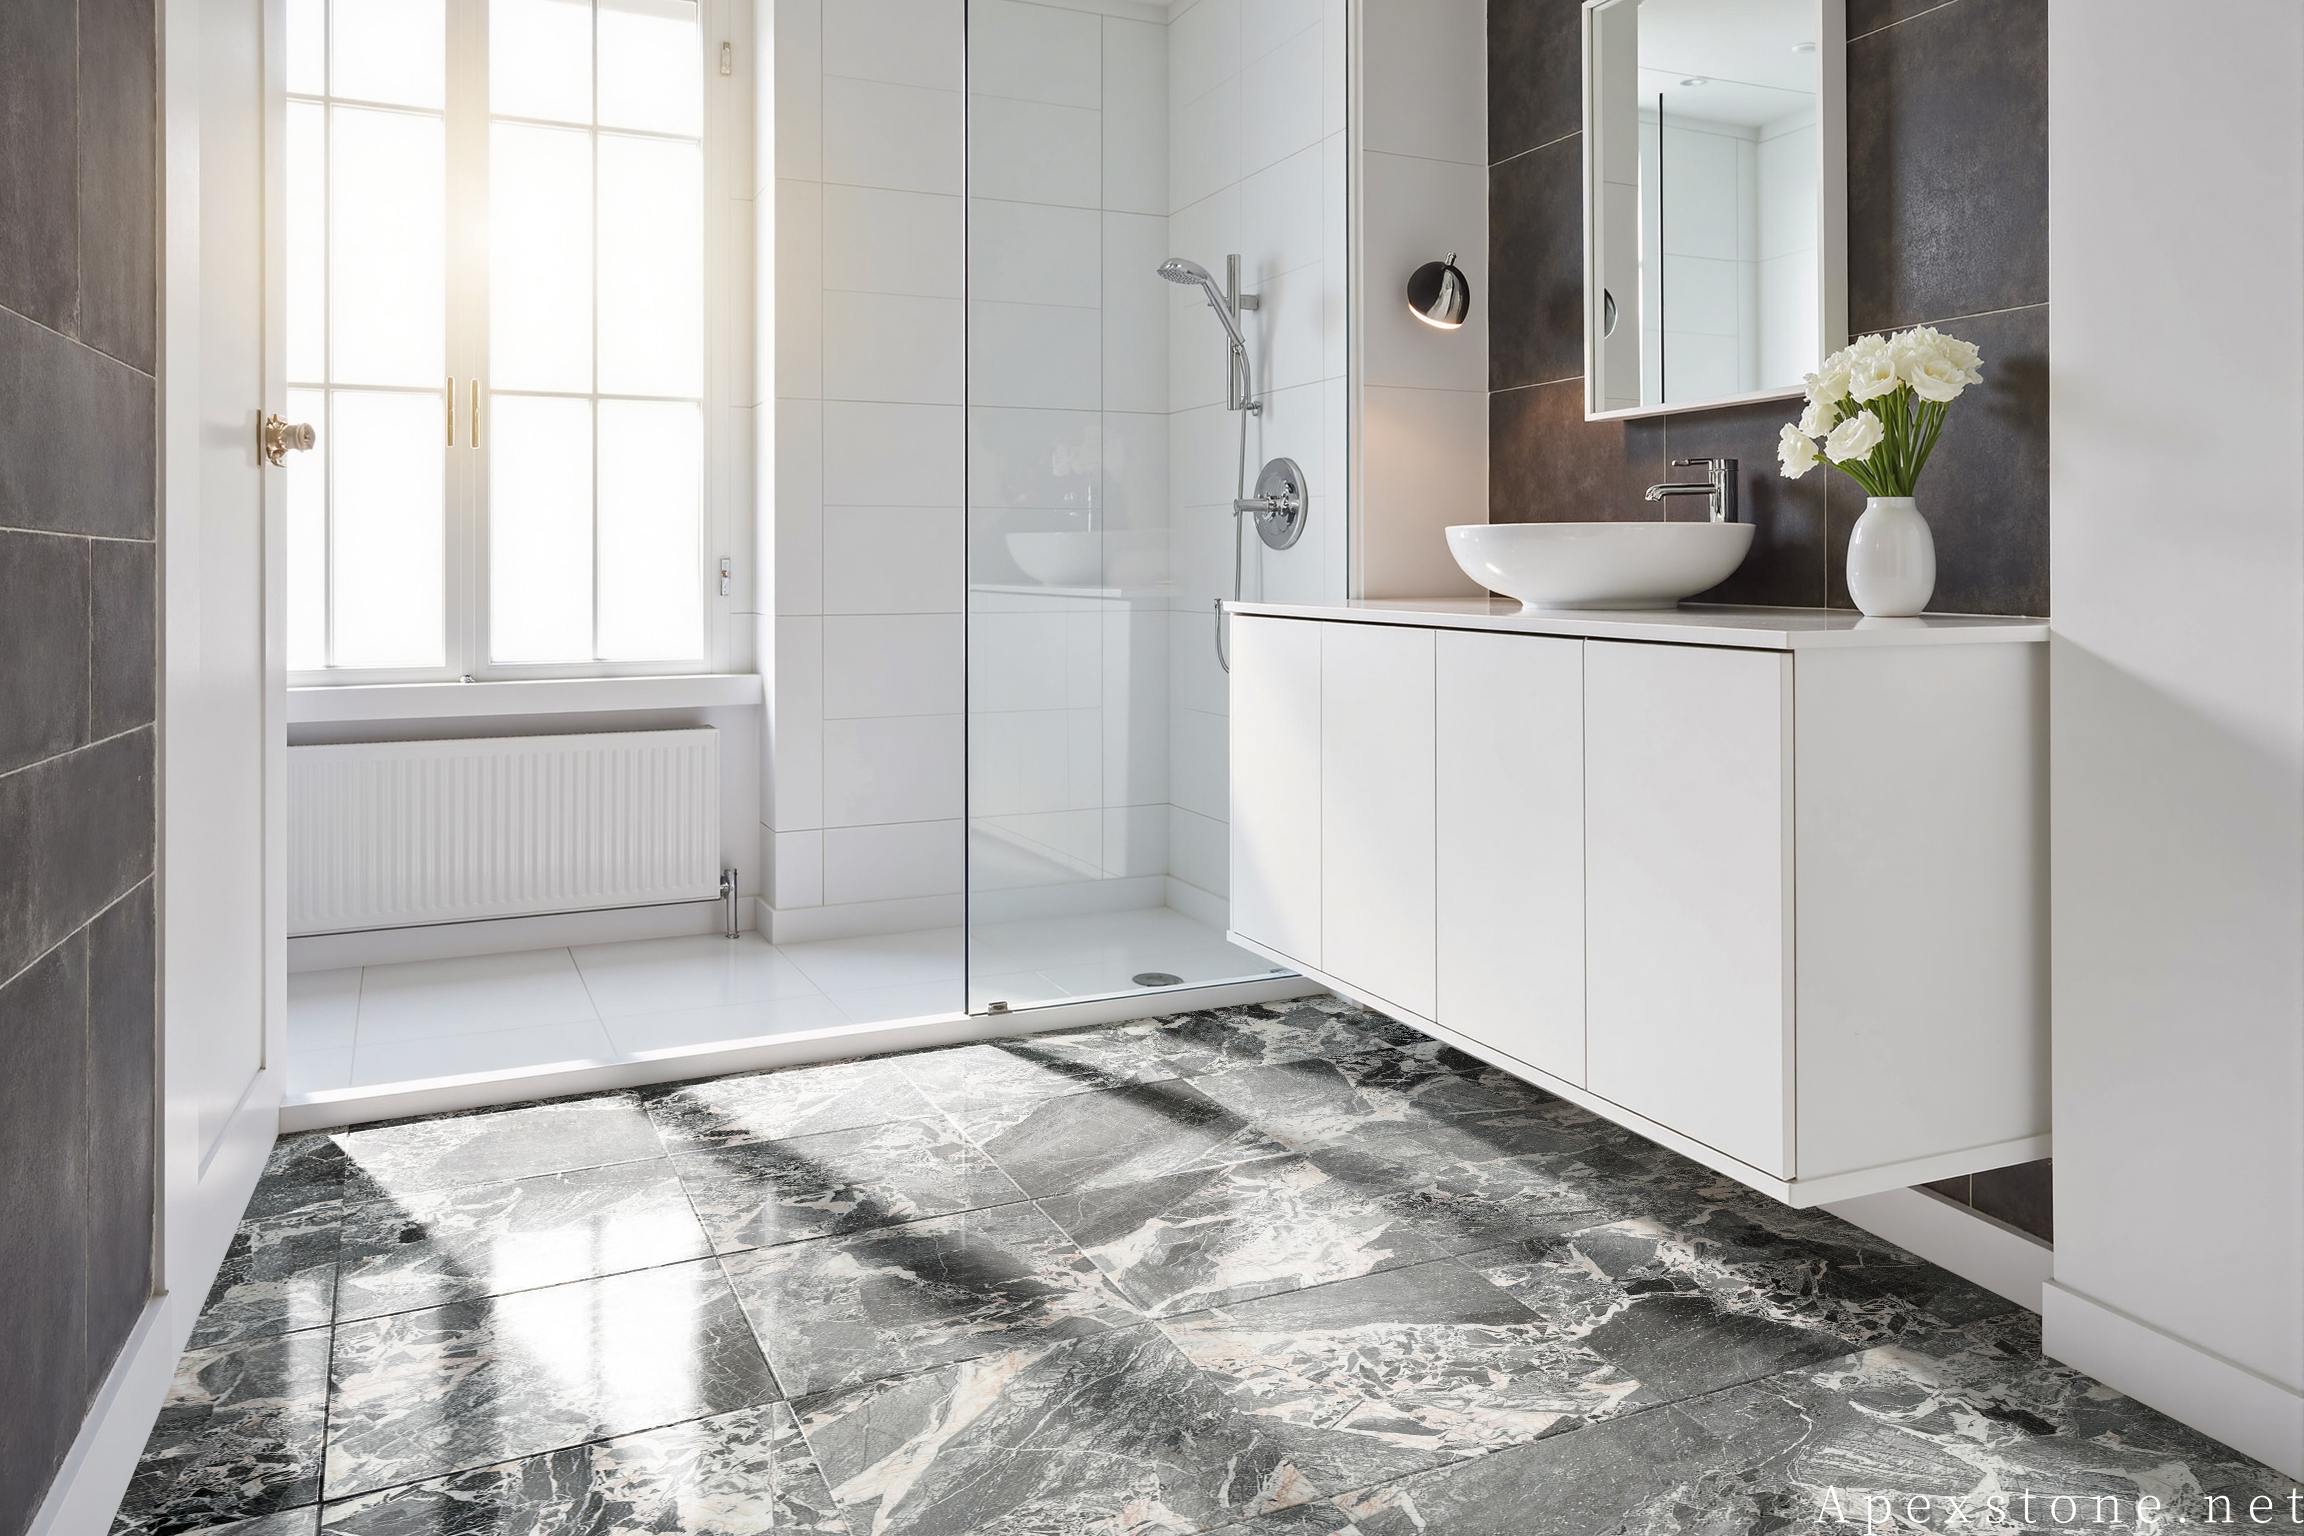
2. Bathroom Floor Tiles (600x600mm / 24"x24", 800x800mm / 32"x32", 20mm / 3/4" thickness) 3/4" thickness)ess)
Substrate preparation: The floor substrate must have a minimum fall of 1:80 toward the floor drain. Install a waterproof membrane (liquid-applied or sheet membrane) across the entire bathroom floor, turning up 150mm at wall junctions. Allow the membrane to cure fully before tiling.
Tile size and thickness: Common floor tile sizes are 600x600mm (24"x24") and 800x800mm (32"x32") at 20mm (3/4") thickness for residential bathrooms. For commercial bathrooms, consider 30mm (1-1/4") thickness. (1-1/4") thickness.ess.
Installation precautions:
- Slip resistance: Use a honed or brushed finish for floor tiles rather than polished. Polished marble is slippery when wet and not recommended for bathroom floors.
- Floor drain positioning: Cut the floor drain opening with a slight chamfer to direct water. Ensure the tile falls toward the drain from all directions.
- Expansion joints: Leave a 5-8mm perimeter expansion gap at all wall-to-floor junctions. Fill with flexible polyurethane sealant, not rigid grout.
- Load distribution: For large-format floor tiles (800x800mm / 32"x32" and above), use a notched trowel with back-buttering to achieve full adhesive coverage and prevent hollow spots.w spots.
- Curing time: Allow 24-48 hours before foot traffic and 72 hours before heavy loading.
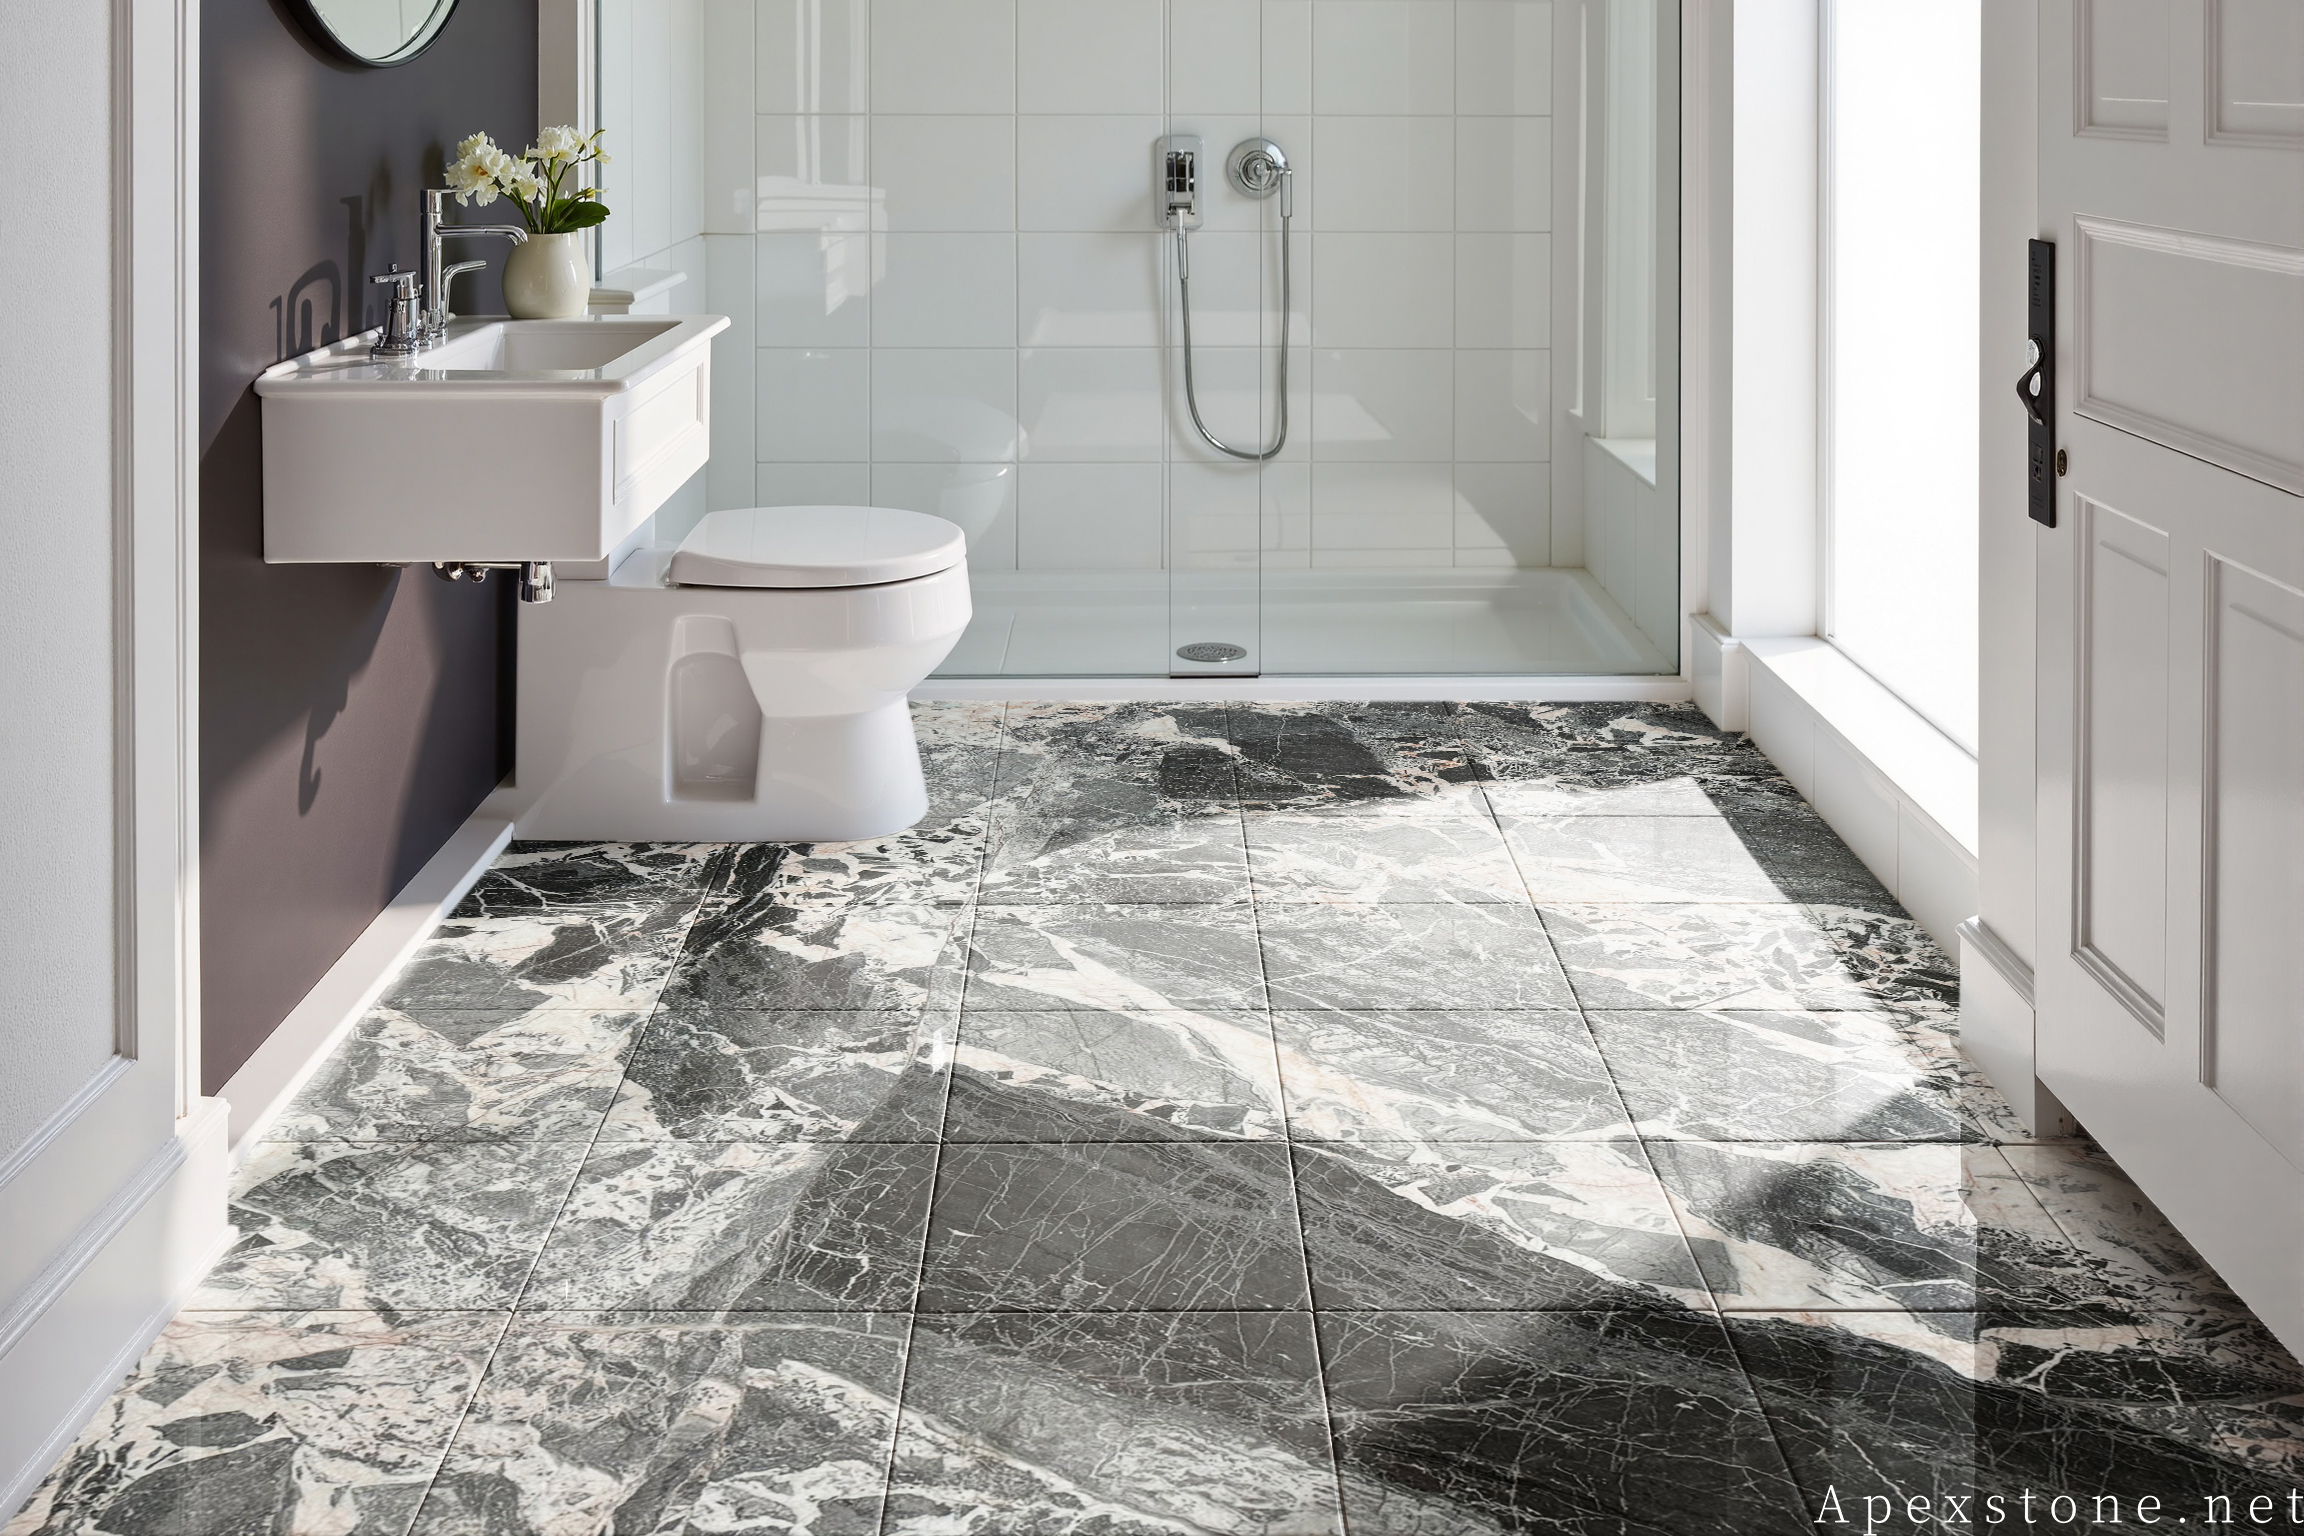
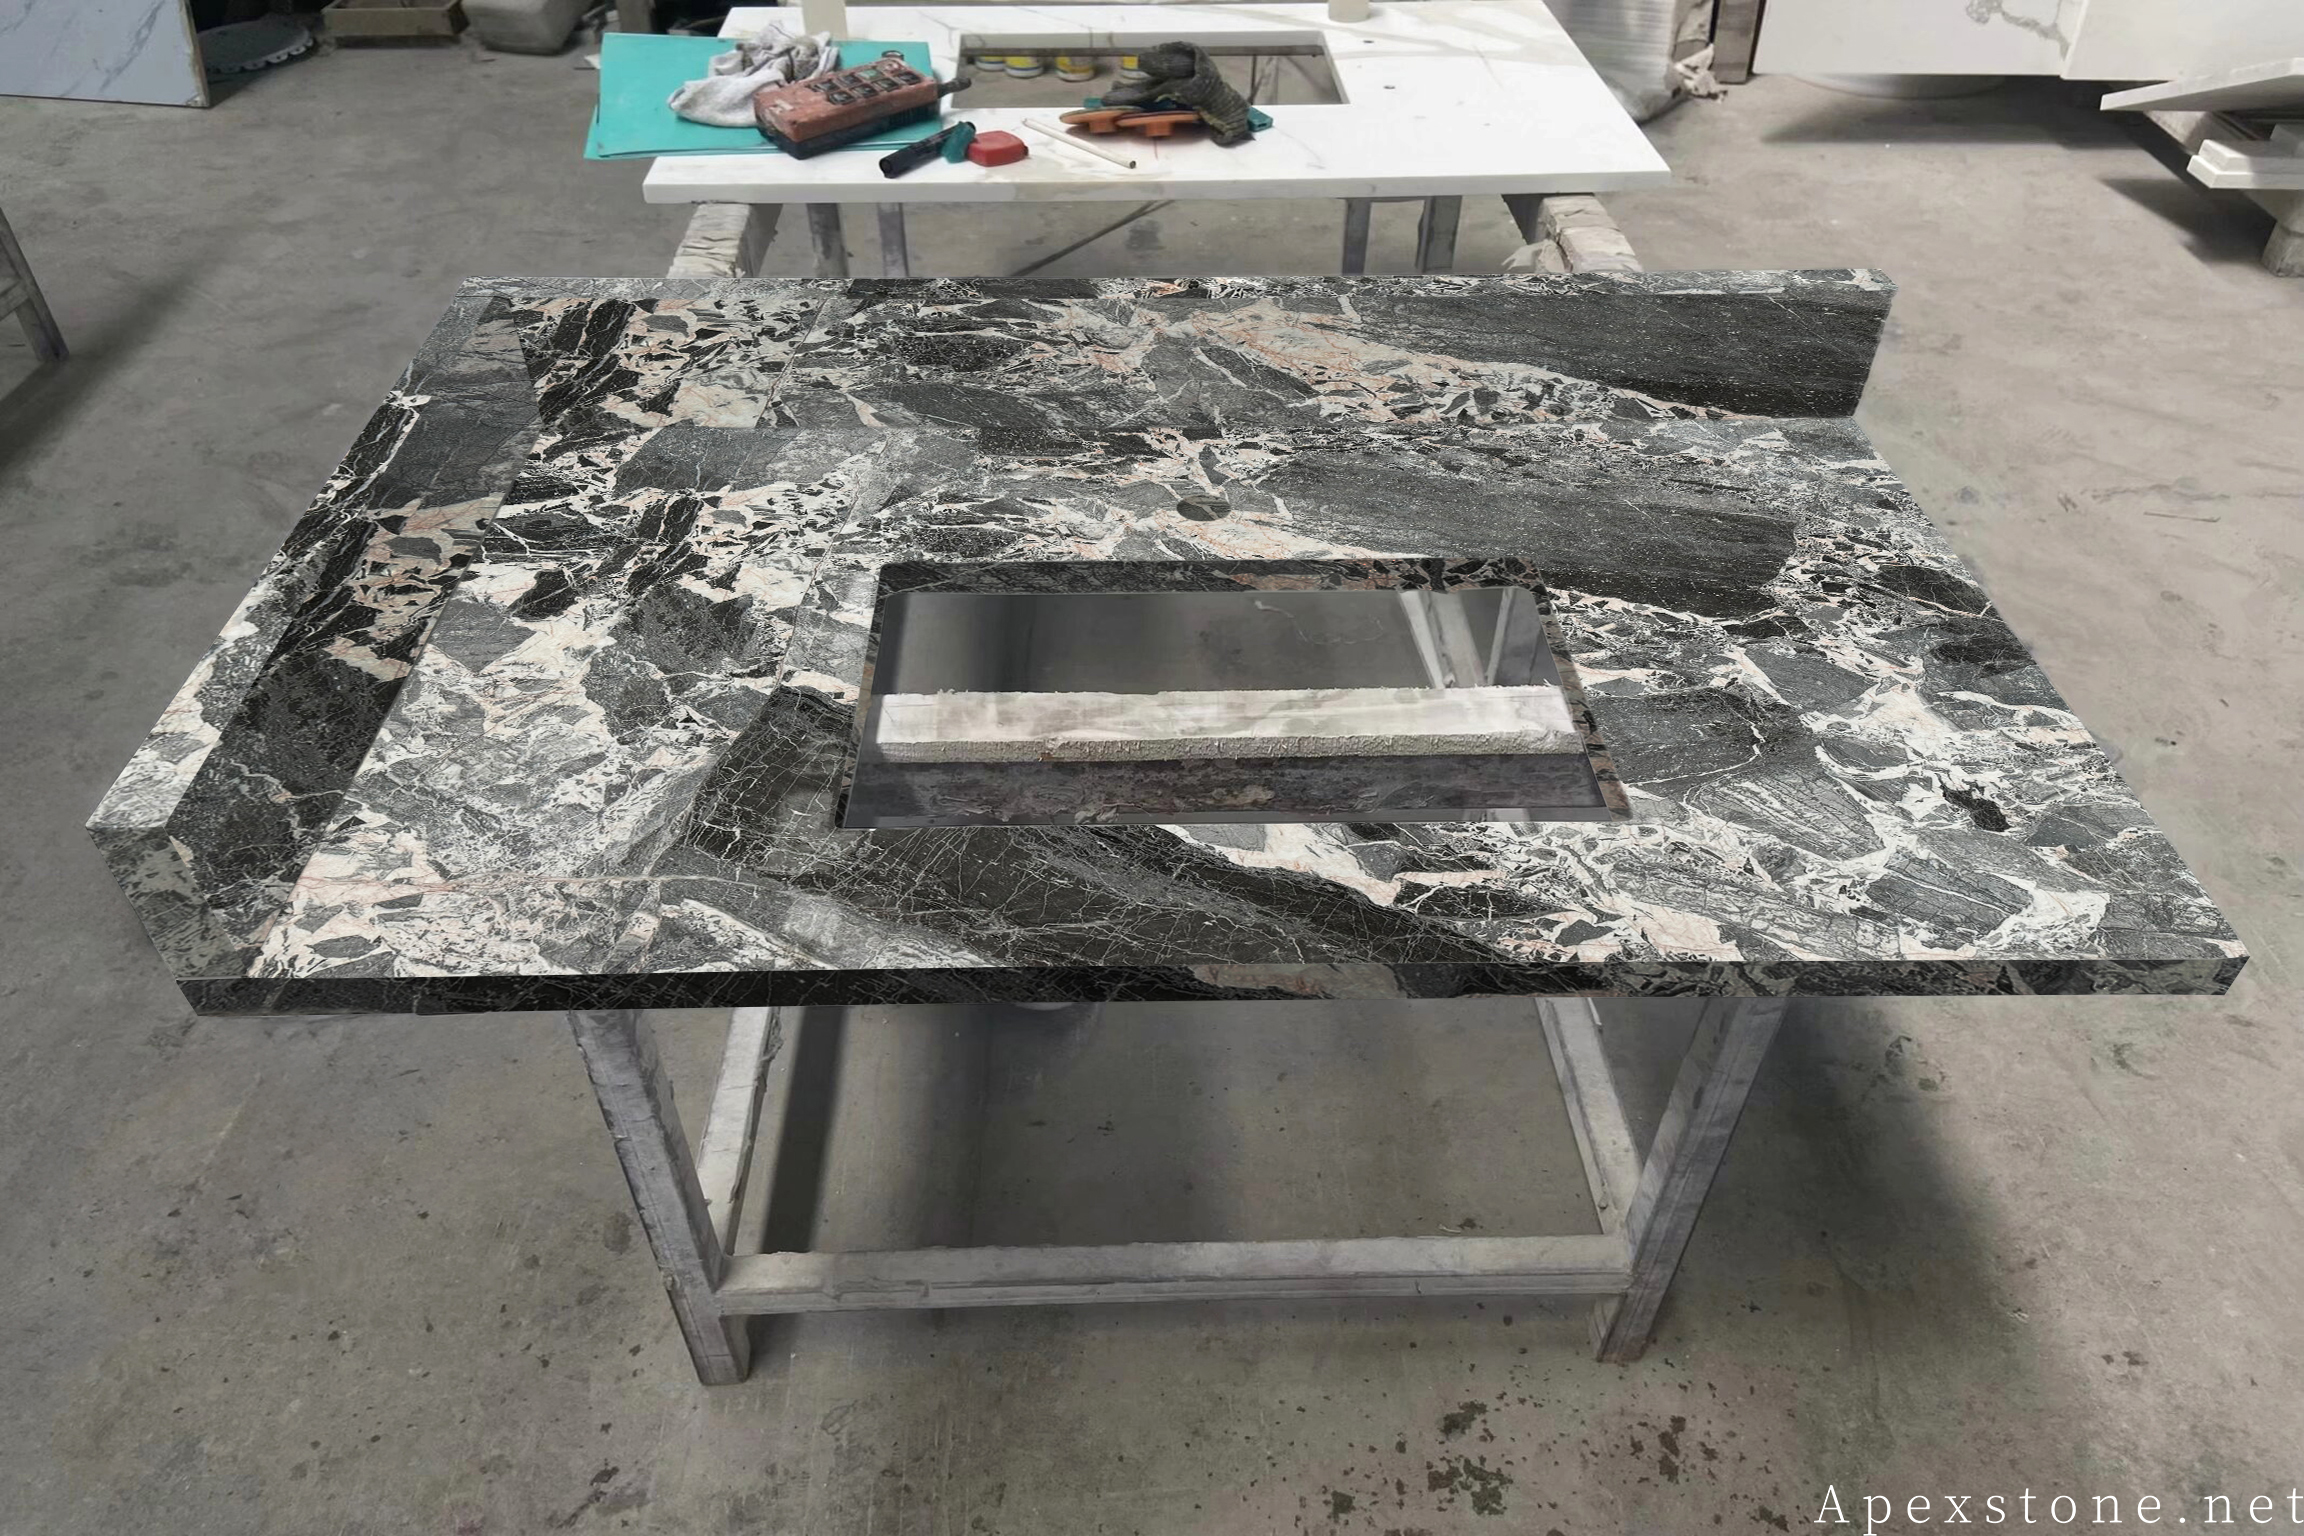
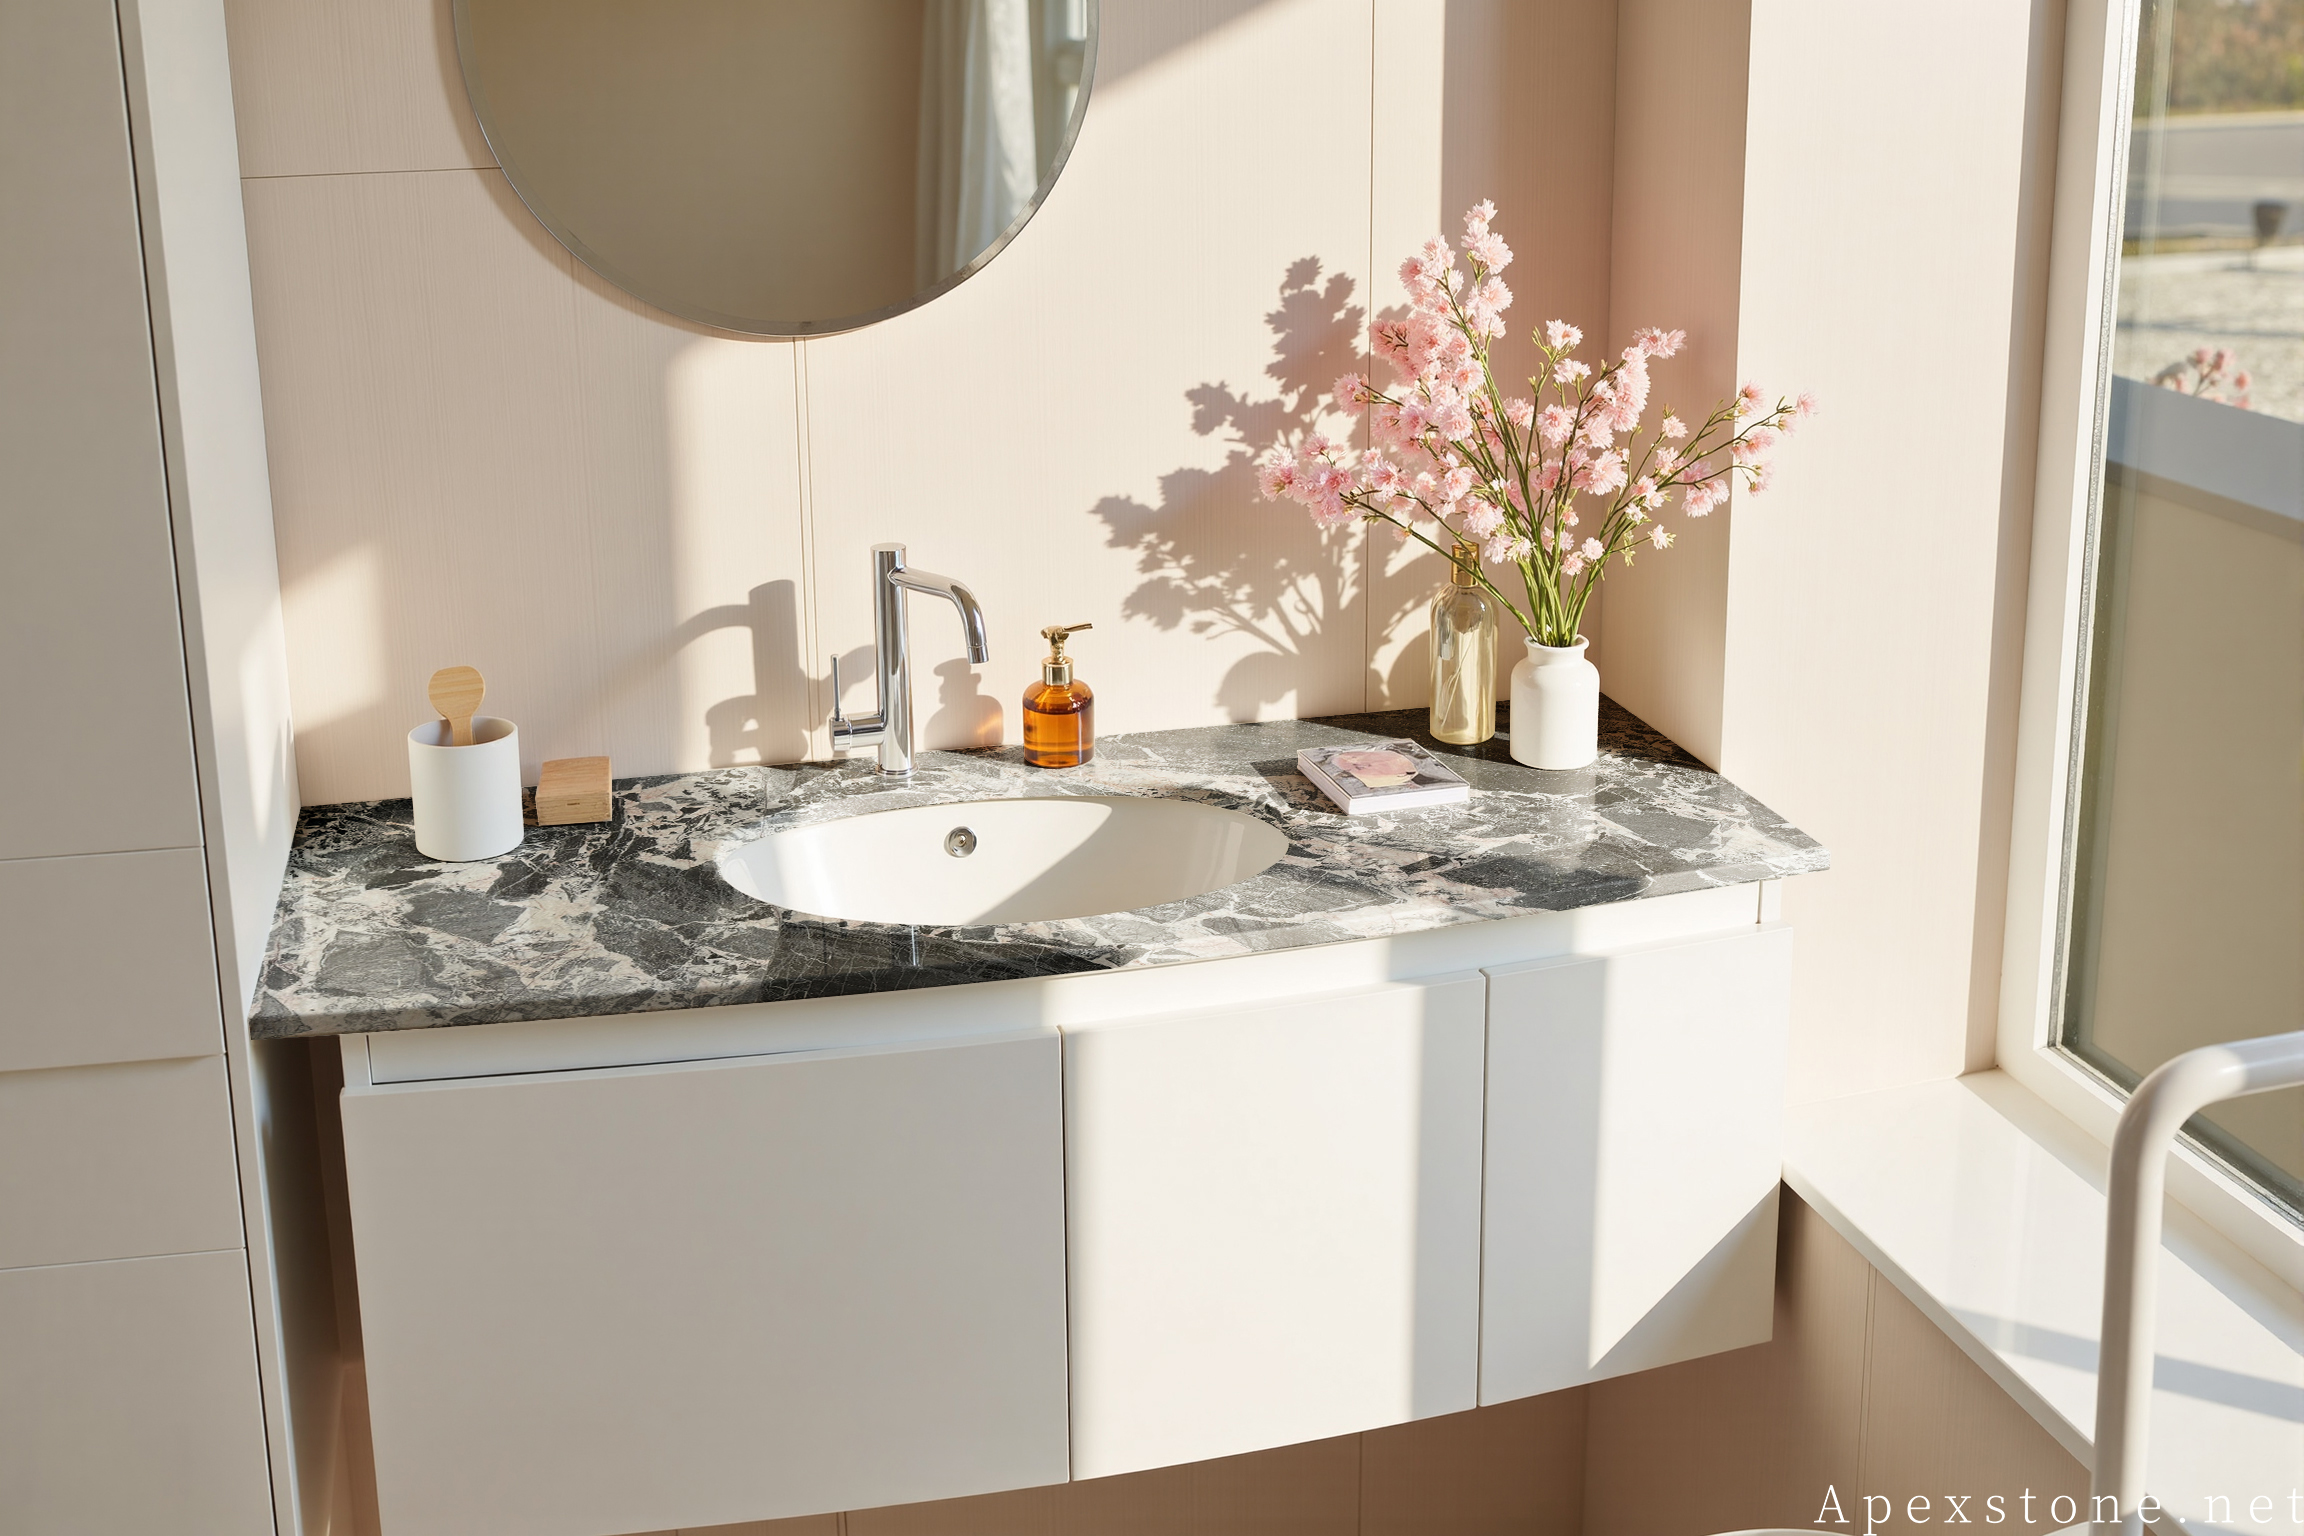
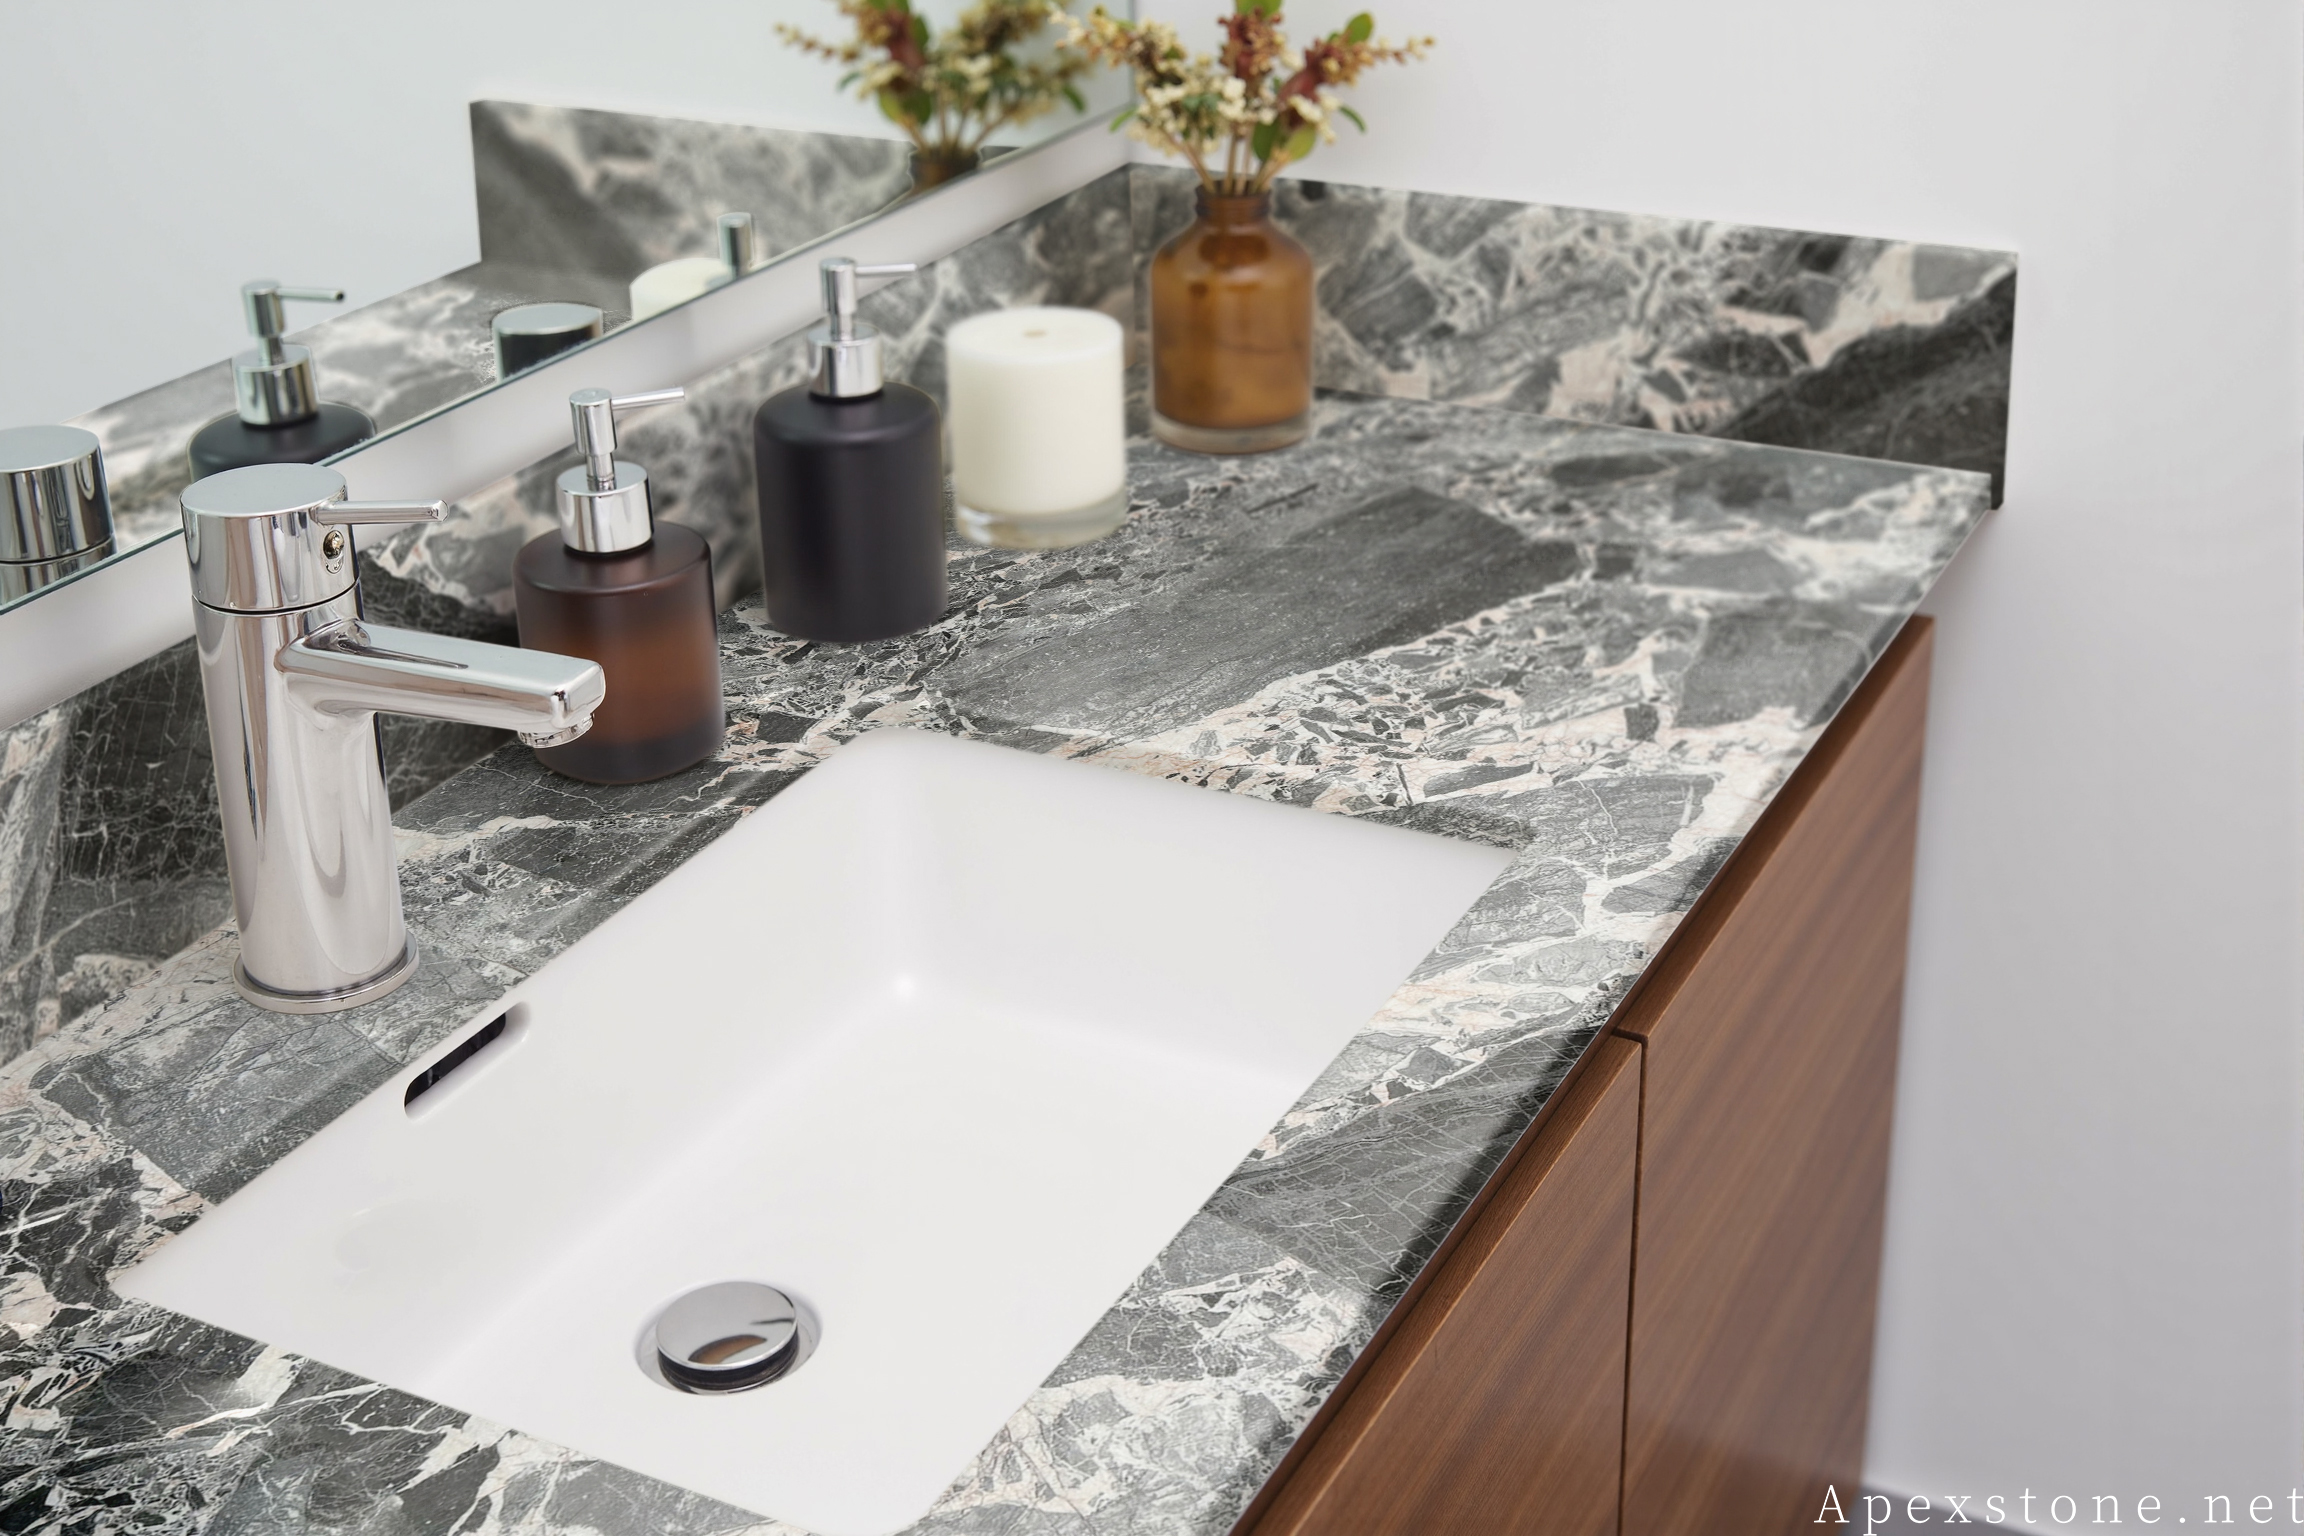
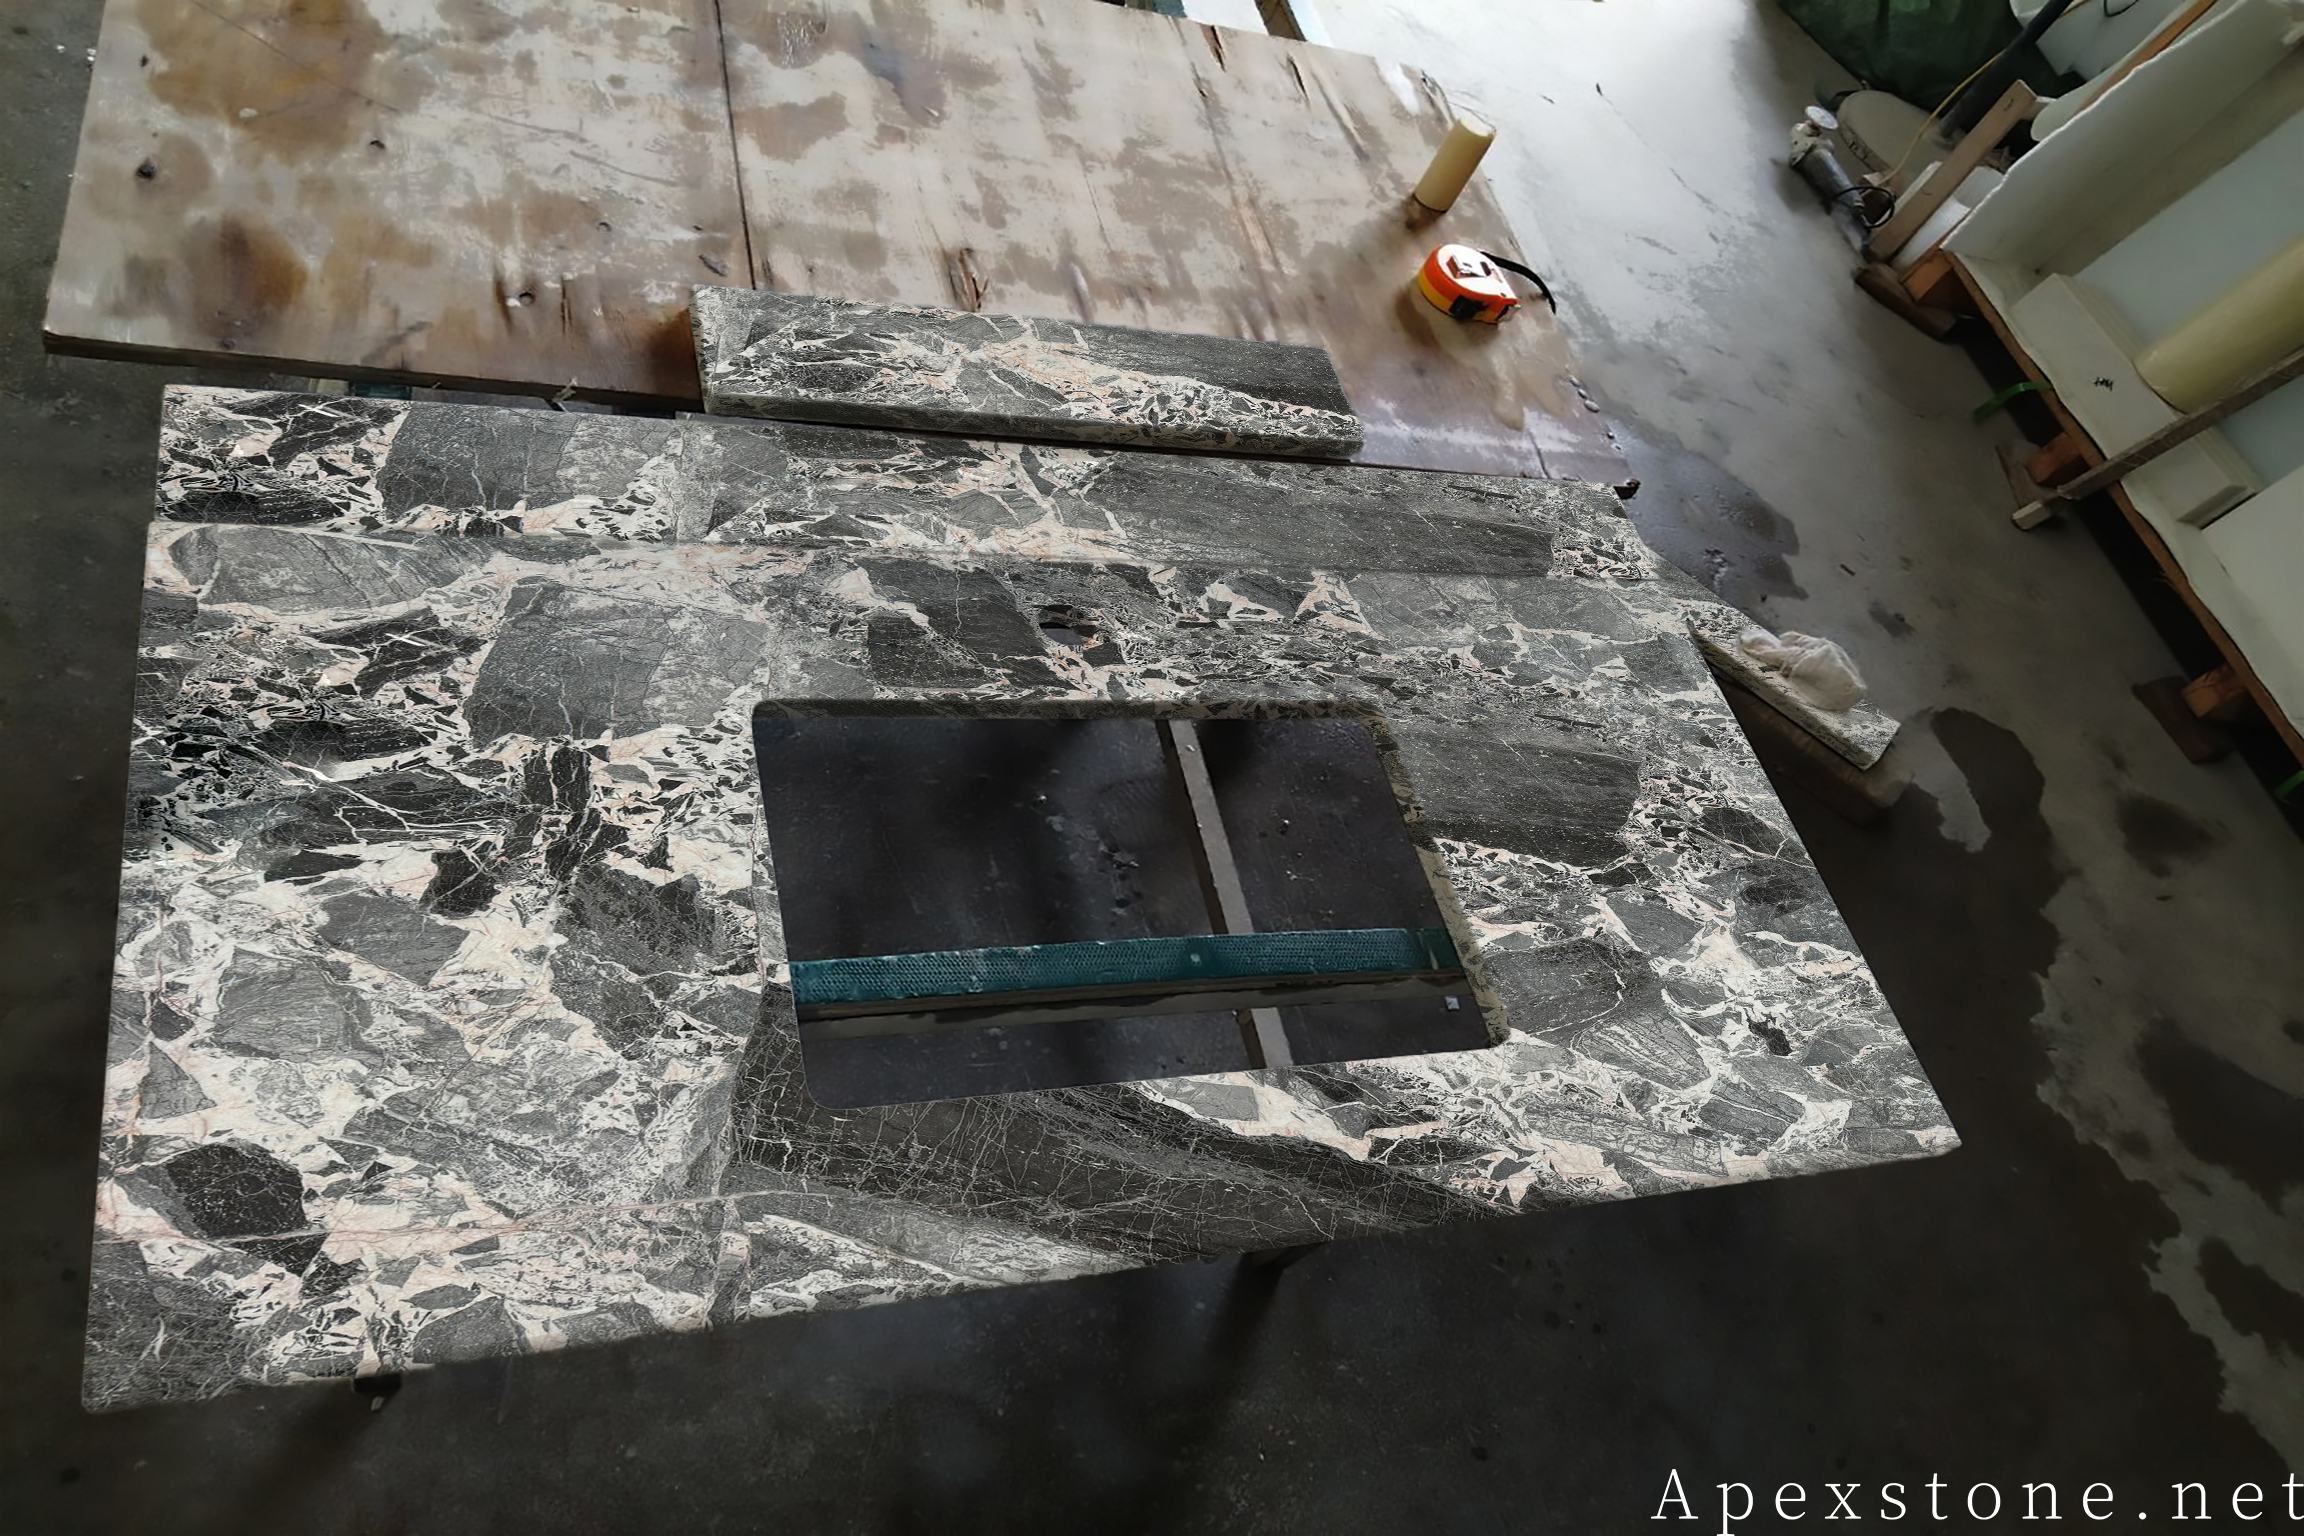
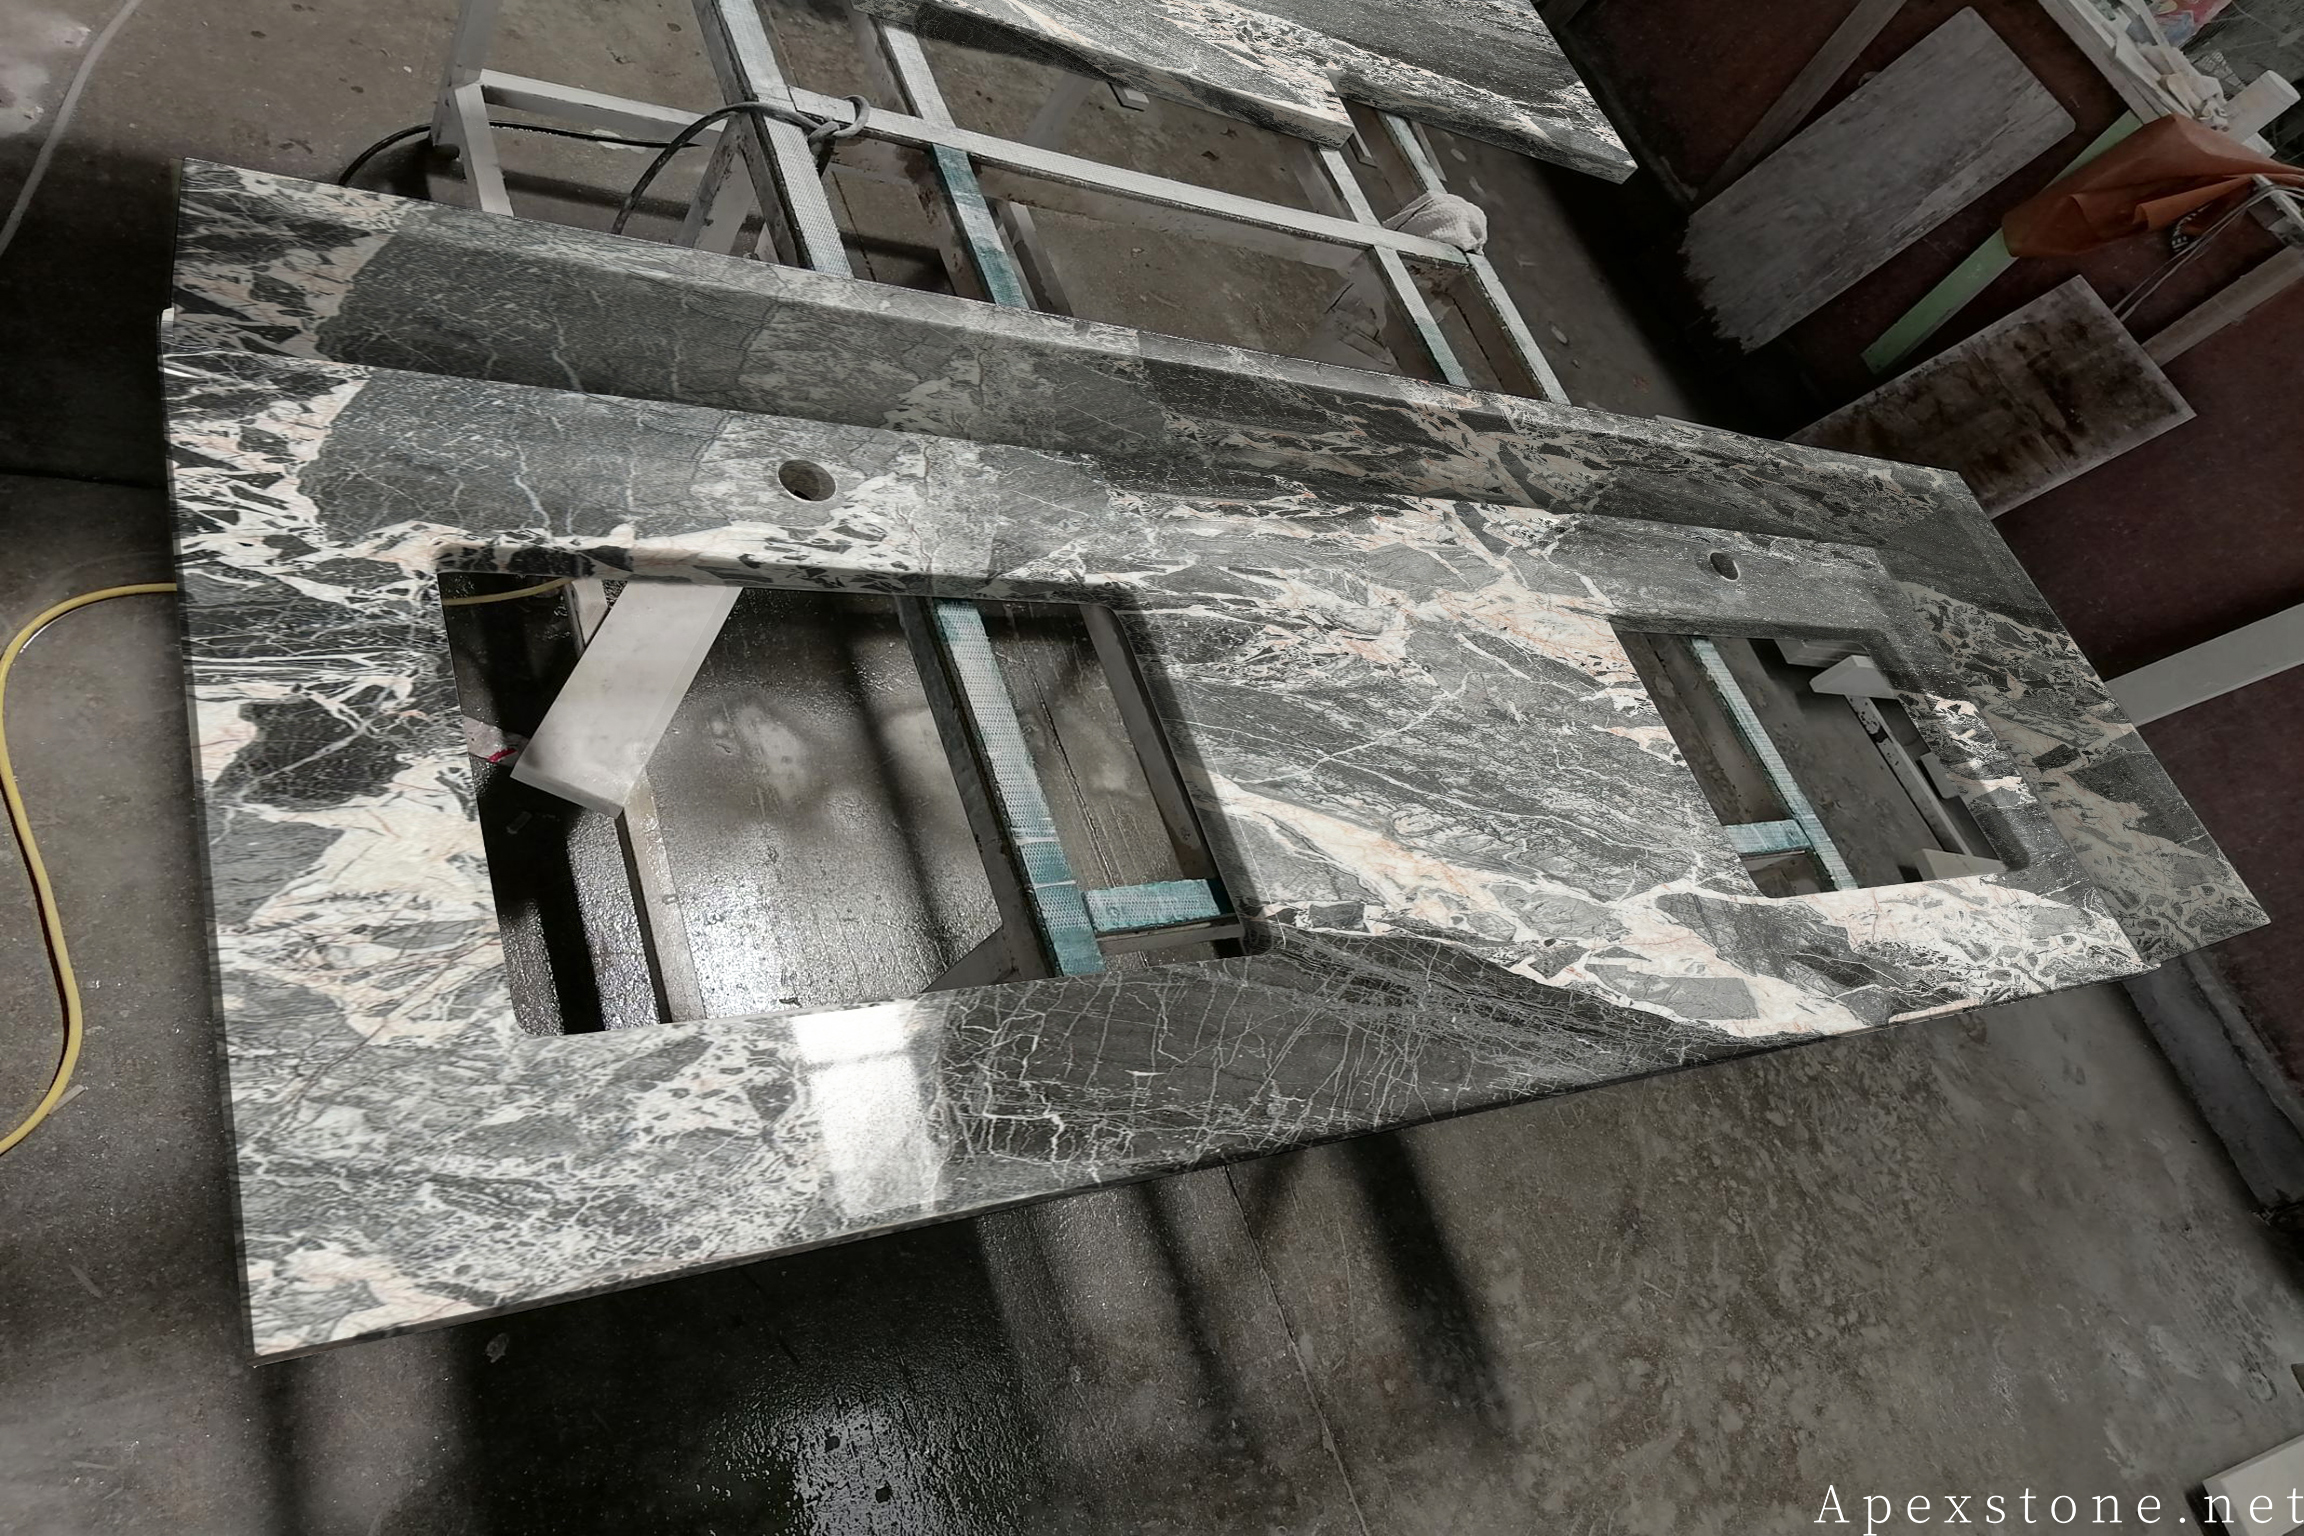
3. Vanity Countertops and Benchtops (Standard depth 600mm / 24", thickness 20mm / 3/4" or 30mm / 1-1/4") 1-1/4")34;)
Template and measurement: Take on-site templates after cabinetry installation. Record basin cut-out position, tap hole centres, edge profile (e.g., full bullnose, eased edge, ogee) and backsplash height.
Standard dimensions: Vanity countertop depth is typically 600mm (24"). Thickness options: 20mm (3/4") for modern minimalist styles, 30mm (1-1/4") for traditional profiles. Island benchtops can use 20mm (3/4") with a 40mm (1-1/2") laminated edge for visual mass.dge for visual mass.
Installation precautions:
- Basin cut-out: Undermount basins require a precise cut-out with polished internal edges. The cut-out should be 3-5mm smaller than the basin rim to support the basin weight.
- Seam placement: For countertops exceeding slab size (typically 2700mm / 108" length), plan seams at basin divisions or natural pattern breaks. Avoid seams in high-traffic or high-moisture zones.nes.
- Edge sealing: Seal all cut edges (basin cut-out, tap holes) with penetrating sealer before installing fixtures. Unsealed cut edges are the primary water ingress path.
- Support: Ensure the vanity cabinet provides full perimeter support for the countertop. For overhangs exceeding 250mm (10"), add corbels or support brackets rated for stone weight.ght.
- Silicone joint: Use a neutral-cure silicone sealant (not acid-cure) between the countertop and basin, and between the backsplash and wall. Acid-cure silicone can etch marble surfaces.
- Heat and chemical exposure: Avoid placing hot styling tools directly on the marble surface. Use only pH-neutral stone cleaners. Avoid acidic or abrasive products that can etch the marble surface over time.
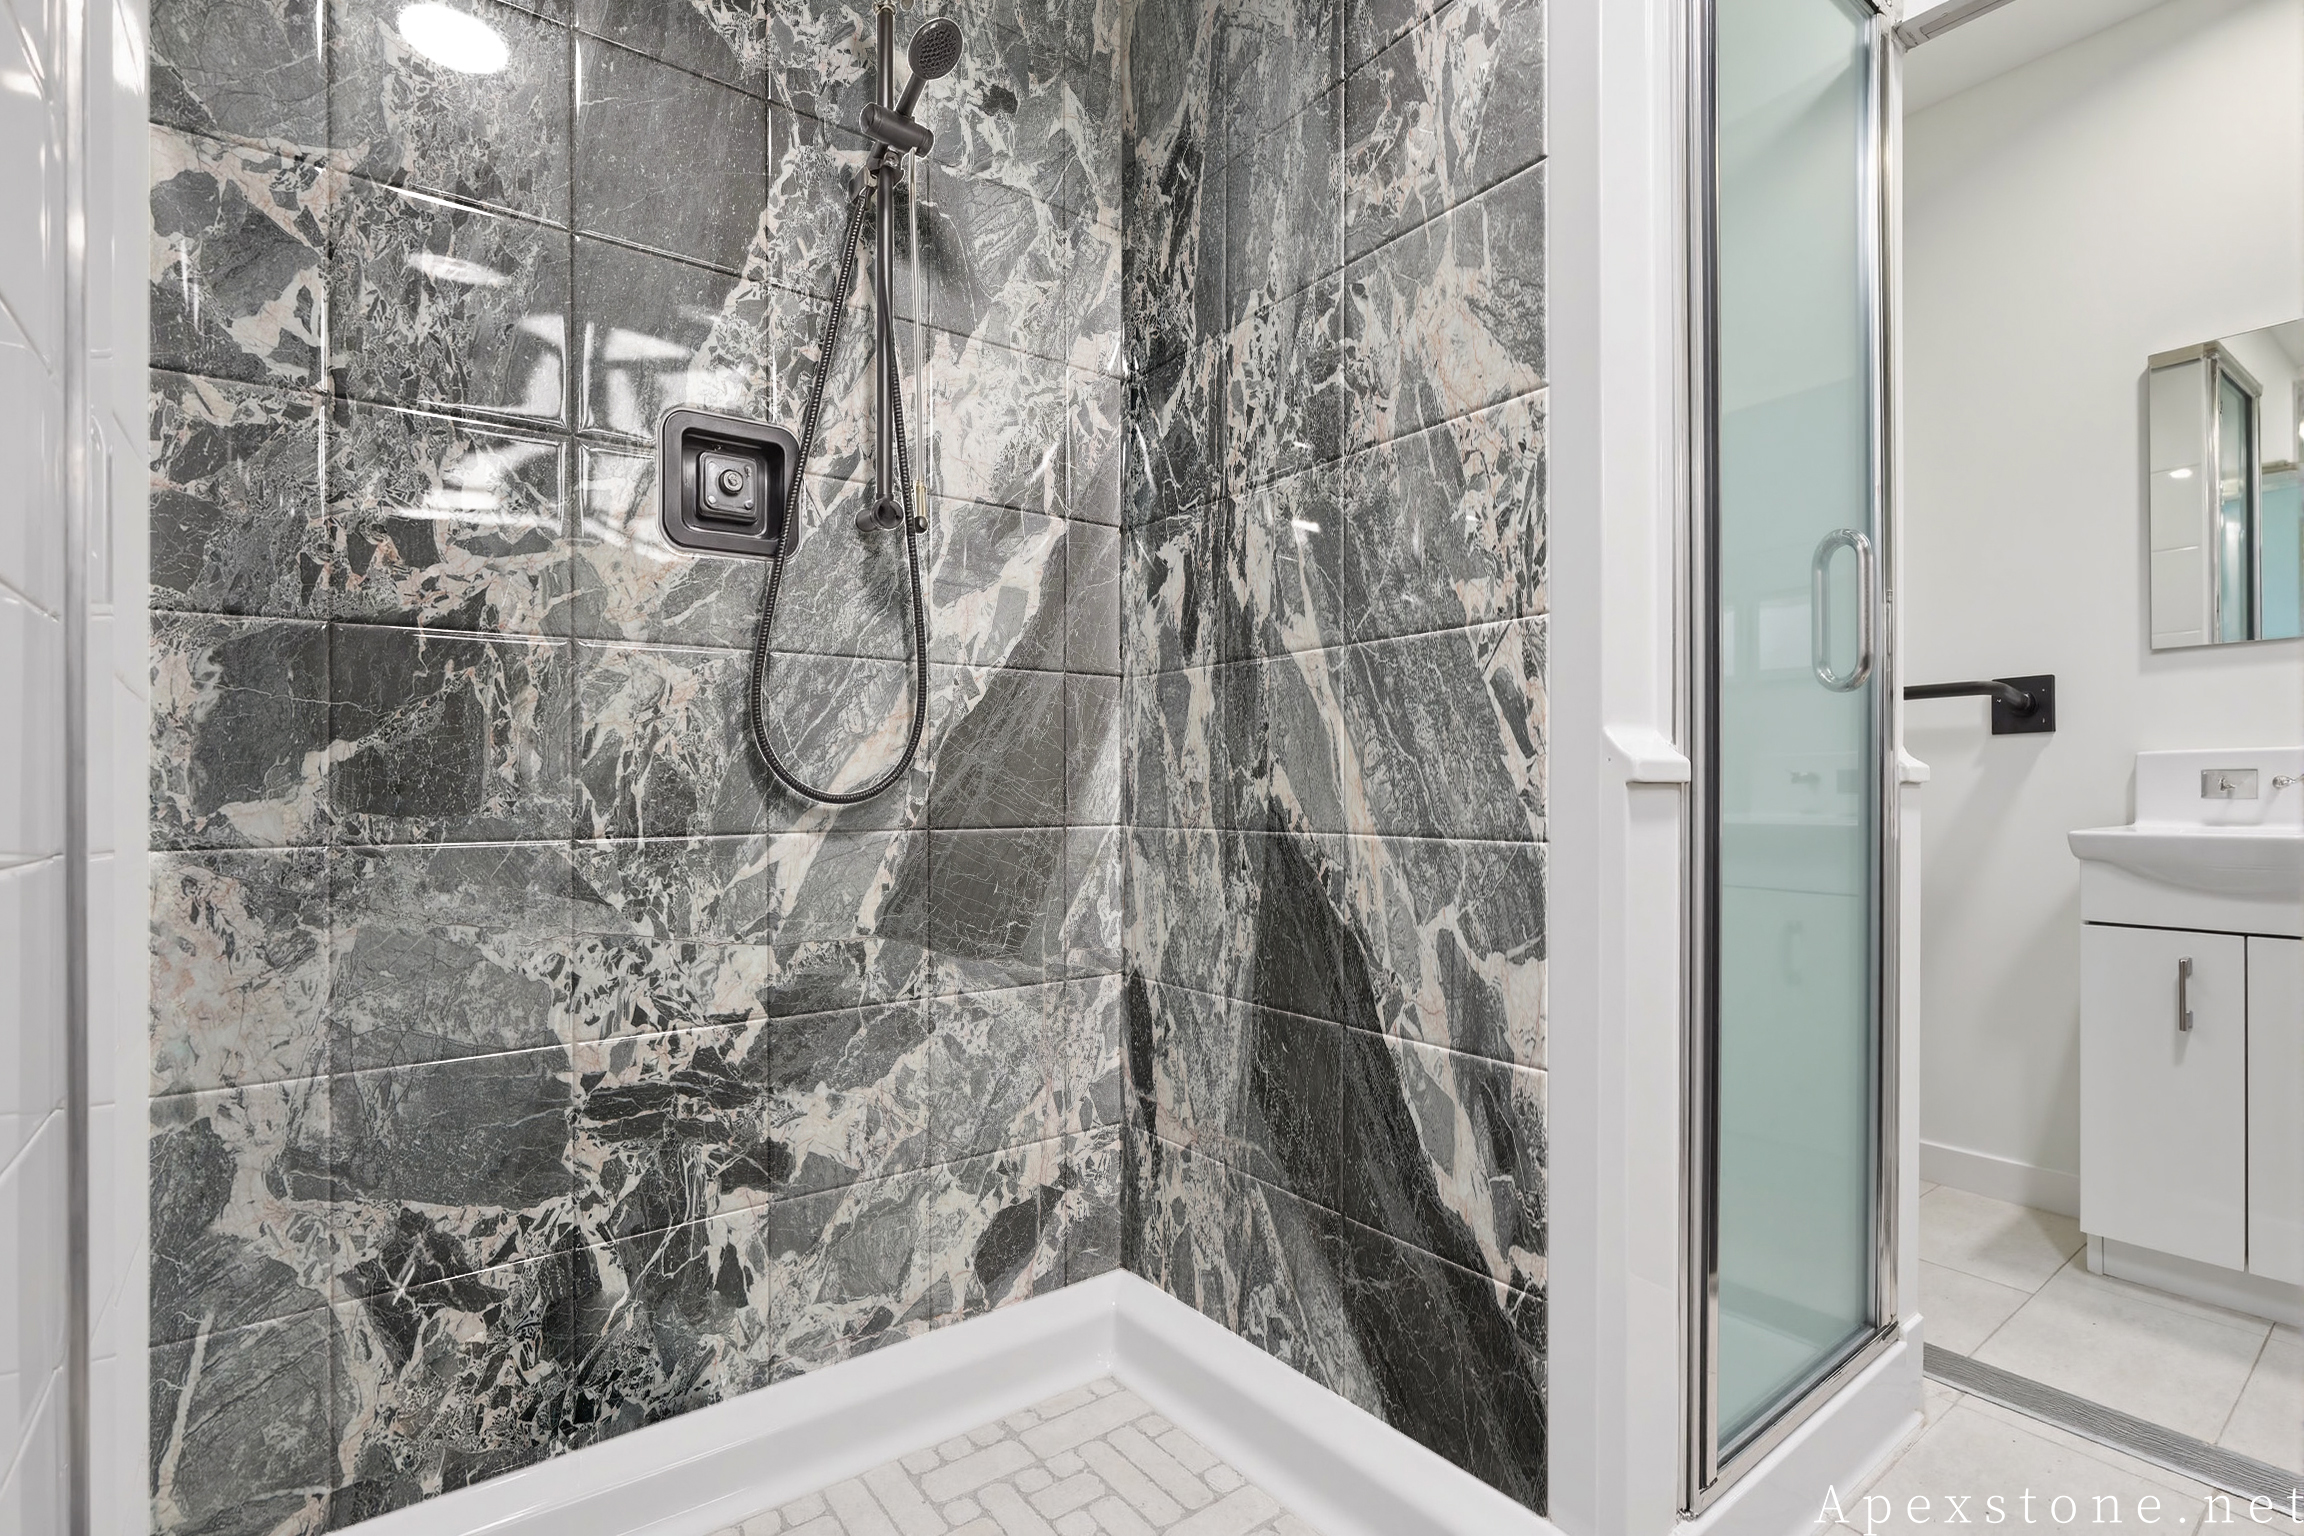
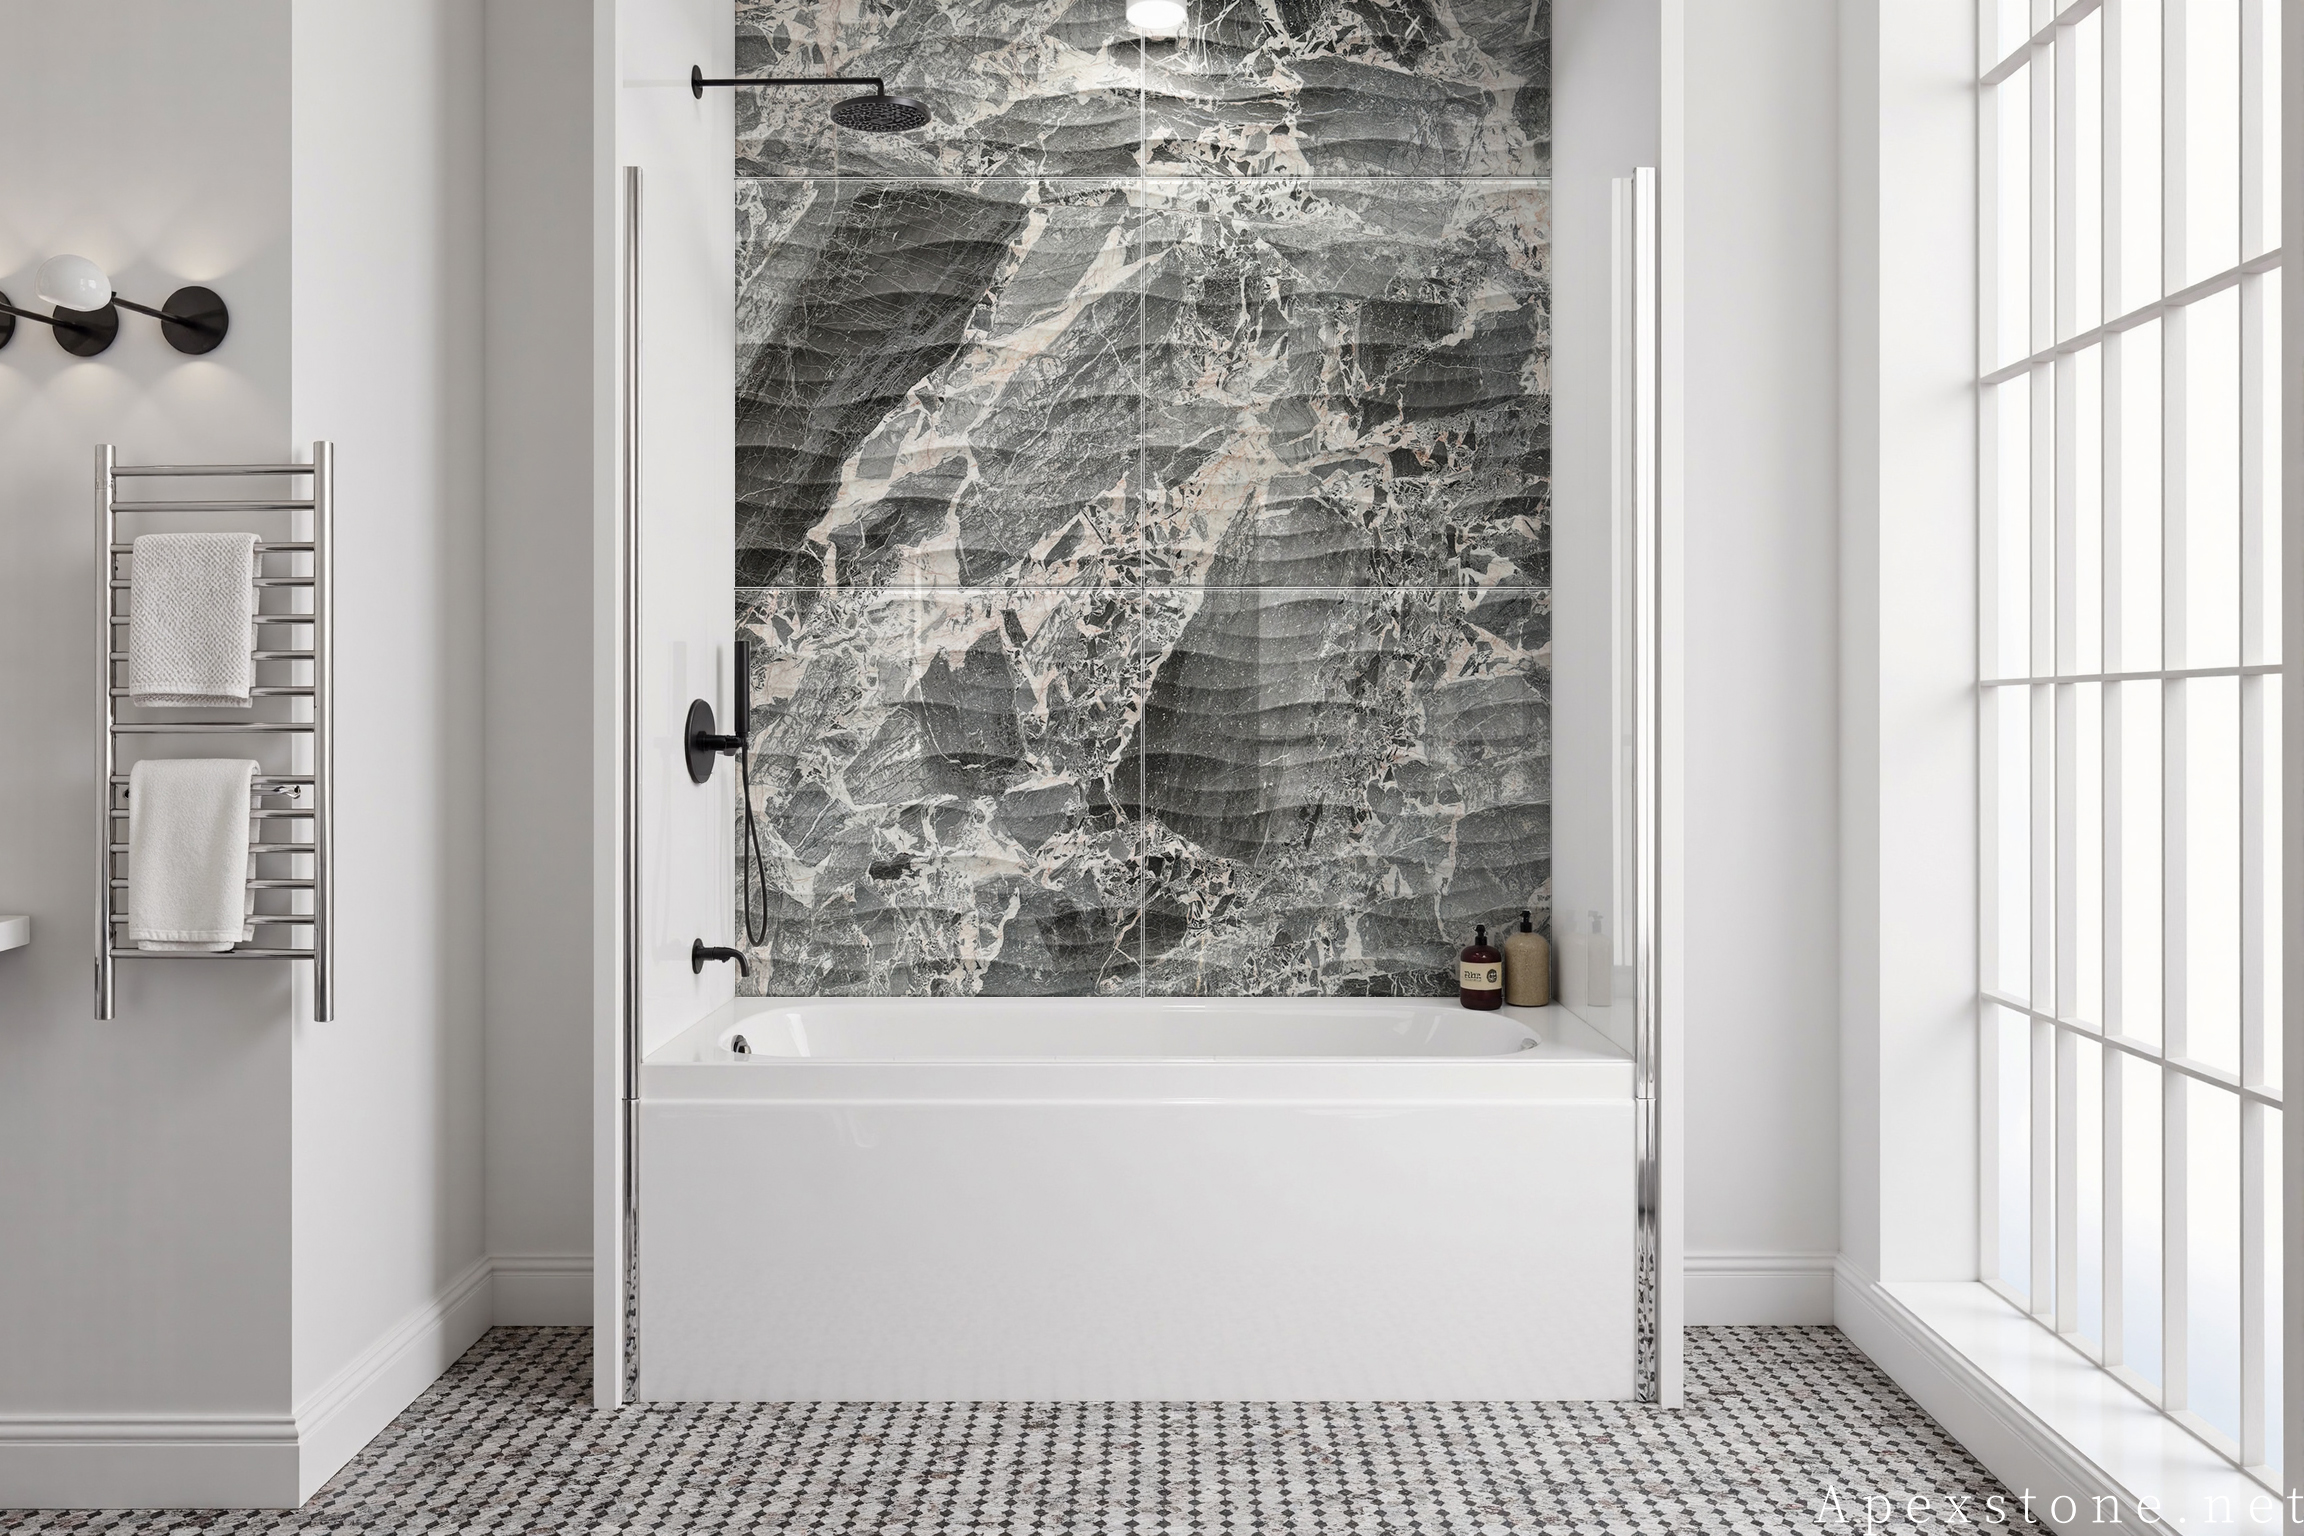
4. Shower Wall Panels (Large-format slabs up to 2400x1200mm / 96"x48", thickness 20mm / 3/4") / 3/4")34;)
Waterproofing: The shower zone requires a full waterproofing system. Apply liquid waterproof membrane to the shower walls from floor to ceiling, with extra attention to internal corners, niche perimeters and mixer-valve penetrations. Conduct a water-flood test before panel installation.
Panel size: Large-format marble shower panels reduce grout lines. Common sizes: full-height panels up to 2400x1200mm (96"x48") at 20mm (3/4") thickness. For smaller showers, use 1200x600mm (48"x24") panels.34;x24") panels.els.
Installation precautions:
- Adhesive selection: Use a rapid-set white cement-based adhesive or epoxy adhesive for shower walls. Grey adhesive can shadow through light-coloured marble.
- Panel support: For panels exceeding 1200mm (48") in any dimension, use mechanical fixing clips at the top edge in addition to adhesive. Do not rely on adhesive alone for large-format vertical panels.els.
- Internal corners: Do not butt marble panels directly at internal corners. Leave a 3-5mm gap and fill with neutral-cure silicone sealant. This accommodates thermal movement and prevents stress cracking.
- Niche construction: Pre-fabricate the shower niche with a pre-sloped sill (minimum 5° fall outward). Cut the marble niche surround from a single piece where possible to minimize joints in a high-moisture zone.
- Grout: Use epoxy grout for all shower-zone joints. Cementitious grout in shower enclosures is susceptible to mould and water penetration over time.
- Sealing: Apply penetrating sealer to all shower marble surfaces after installation and before grouting. Re-seal every 6-12 months in shower zones due to constant moisture exposure.
5. Shower Floor (Tile size 300x300mm / 12"x12", 600x600mm / 24"x24", thickness 20mm / 3/4")ess 20mm / 3/4")34;)
Fall and drainage: The shower floor must fall toward the drain at a minimum gradient of 1:80 (approximately 1.25°). For a 900x900mm (36"x36") shower base, this means a 11mm fall from the perimeter to the drain centre. centre.
Tile size: Use smaller format tiles on shower floors for better slip resistance and easier fall formation: 300x300mm (12"x12") or 600x600mm (24"x24") at 20mm (3/4") thickness.3/4") thickness.ess.
Installation precautions:
- Surface finish: Use a brushed or flamed finish for shower floor tiles. Polished marble is dangerous in a wet shower environment.
- Drain type: Use a linear drain for large-format tiles to minimize tile cutting. For point drains, ensure the fall radiates evenly from all four directions.
- Waterproofing: Apply a waterproof membrane across the entire shower floor, lapping up the wall membrane by a minimum of 150mm (6"). This is the most critical waterproofing junction in the bathroom.oom.
- Maintenance access: Ensure the drain is accessible for cleaning. Use a stainless-steel drain grate that can be removed without damaging surrounding tiles.
6. Solid Stone Bathtubs (Internal dimensions approx. 1500x700mm / 60"x28", wall thickness 20-30mm / 3/4"-1-1/4")#34;-1-1/4")34;)
Material: Solid stone bathtubs carved from a single block of Chanel Grey marble. Internal dimensions typically 1500x700mm (60"x28") with 20-30mm (3/4"-1-1/4") wall thickness. Approximate weight: 180-250 kg (400-550 lbs) depending on size and thickness.e and thickness.
Installation precautions:
- Floor load capacity: Verify that the bathroom floor can support the combined weight of the tub, water and occupant (approximately 500-600 kg / 1100-1320 lbs total). For upper-floor installations, consult a structural engineer.
- Waste and overflow: Position the waste outlet before delivery. The tub base must have a pre-drilled waste hole; on-site drilling of a solid stone tub is extremely difficult and risky.
- Levelling: Place the tub on a level mortar bed or adjustable feet. Use a spirit level in both directions. An unlevel tub will cause uneven water depth and drainage issues.
- Thermal insulation: Marble conducts heat faster than acrylic. Pre-warm the tub with a small amount of hot water before filling to prevent heat shock and increase bathing comfort.
- Sealing: Seal the external and internal surfaces of the stone tub with penetrating sealer before first use. Pay special attention to the waste flange area.
- Handling: Use a minimum of two persons with a stone-handling suction lifter. Never lift by the rim edge alone. Place protective covering on the floor during positioning to prevent scratching.
Summary: Key Installation Principles for Chanel Grey Marble Bathrooms
- Waterproof first: Every wet surface - shower walls, shower floor, bathroom floor - requires a full waterproof membrane beneath the stone.
- Seal after installation: Apply a penetrating sealer to all marble surfaces after installation and before grouting. Re-seal annually.
- Match the finish to the location: Honed or brushed for floors and shower floors (slip resistance); polished or honed for walls and vanity tops (aesthetics).
- Plan the vein direction: Dry-lay tiles and slabs before fixing to ensure vein continuity across walls, floors and feature panels.
- Use flexible adhesive and silicone at movement joints: Rigid grout at internal corners will crack; always use mould-resistant silicone at wall-to-floor and wall-to-wall junctions.
- Specify dimensions in both metric and imperial: When ordering, provide finished sizes in millimetres and inches so fabrication and site measurement can cross-check.
Plan Your Chanel Grey Bathroom Project
Send your bathroom drawings, required finished sizes, surface locations, preferred finishes and quantities. Apexstone will review the material selection, cutting requirements and slab allocation against the verified Chanel Grey source images, then provide a quotation and production schedule.